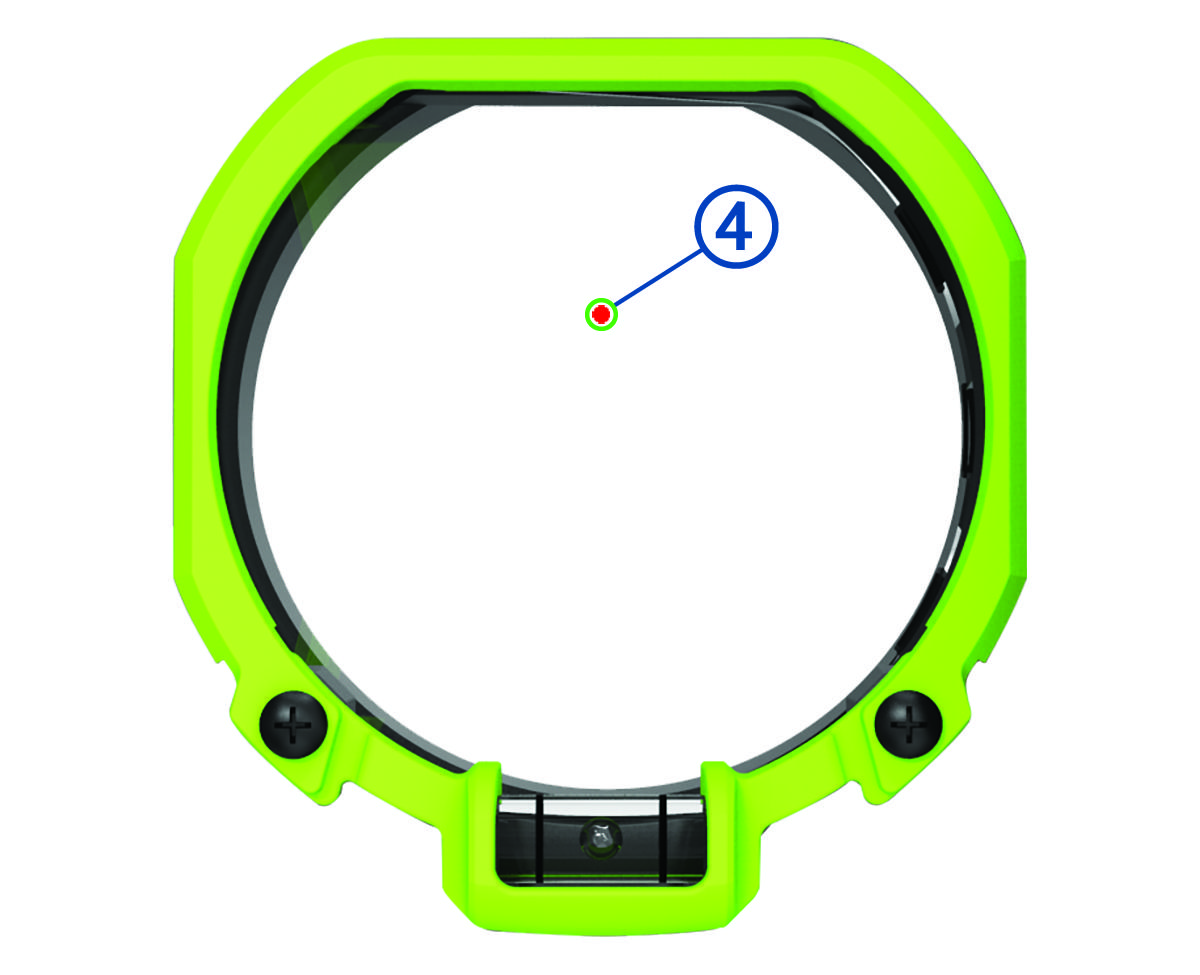
Aligning the Rangefinder with the Primary Pin
The circular rangefinder reticle indicates the direction the laser rangefinder is pointing. For best accuracy, you must align the circular rangefinder reticle with the primary pin.
-
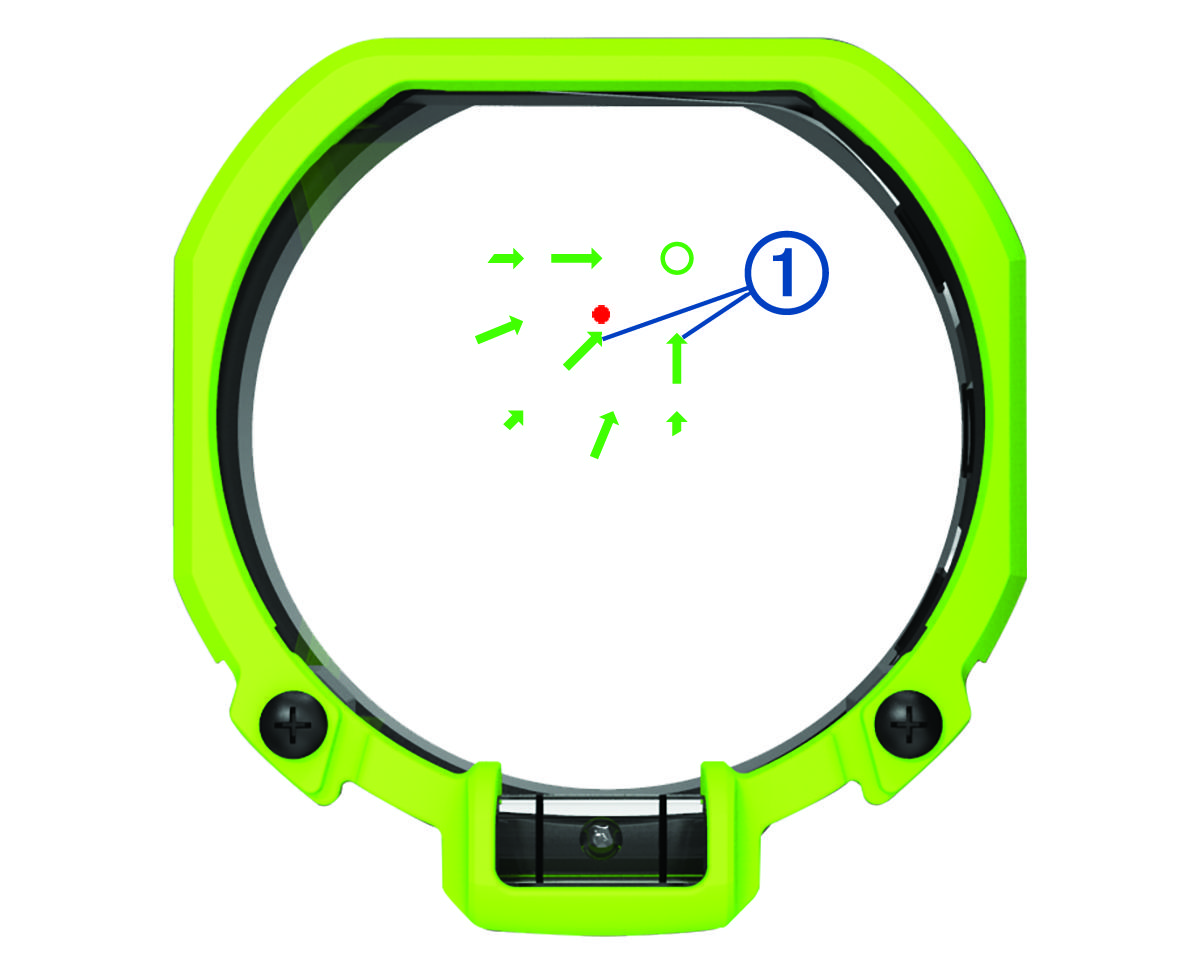
Observe the arrows
 on the rangefinder reticle.
The arrows indicate the direction you must move the curved adjustments on the mount. Each arrow in the optic corresponds with one degree of adjustment on the curved rails.
-
Using a 7/64 inch hex wrench, adjust the curved vertical
 and curved horizontal
  adjustments on the mount in the directions the arrows indicate. For example, if the arrows point up and right, move the curved mount pieces up and right.
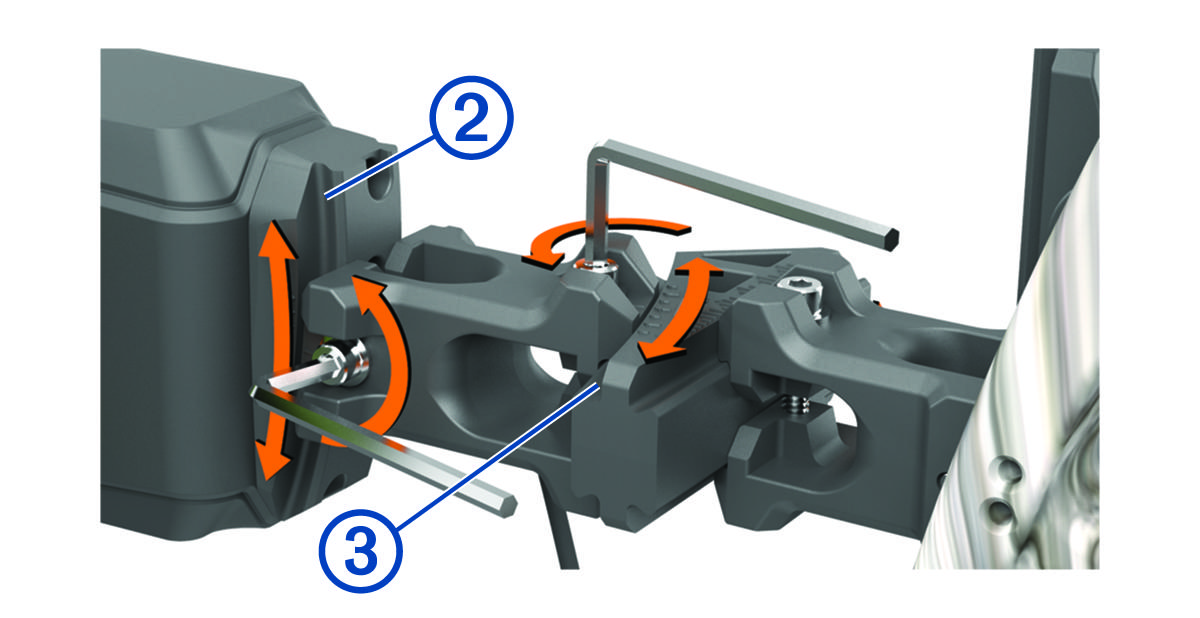
TIP: Each mark on the curved adjustments indicates one degree. Garmin® recommends moving the curved rails in small increments as indicated by the arrows in the optic when making adjustments. -
Continue adjusting the mounts until the primary pin is centered in the circle of the rangefinder reticle
 at full draw.