Installing the Mount on Your Vehicle
-
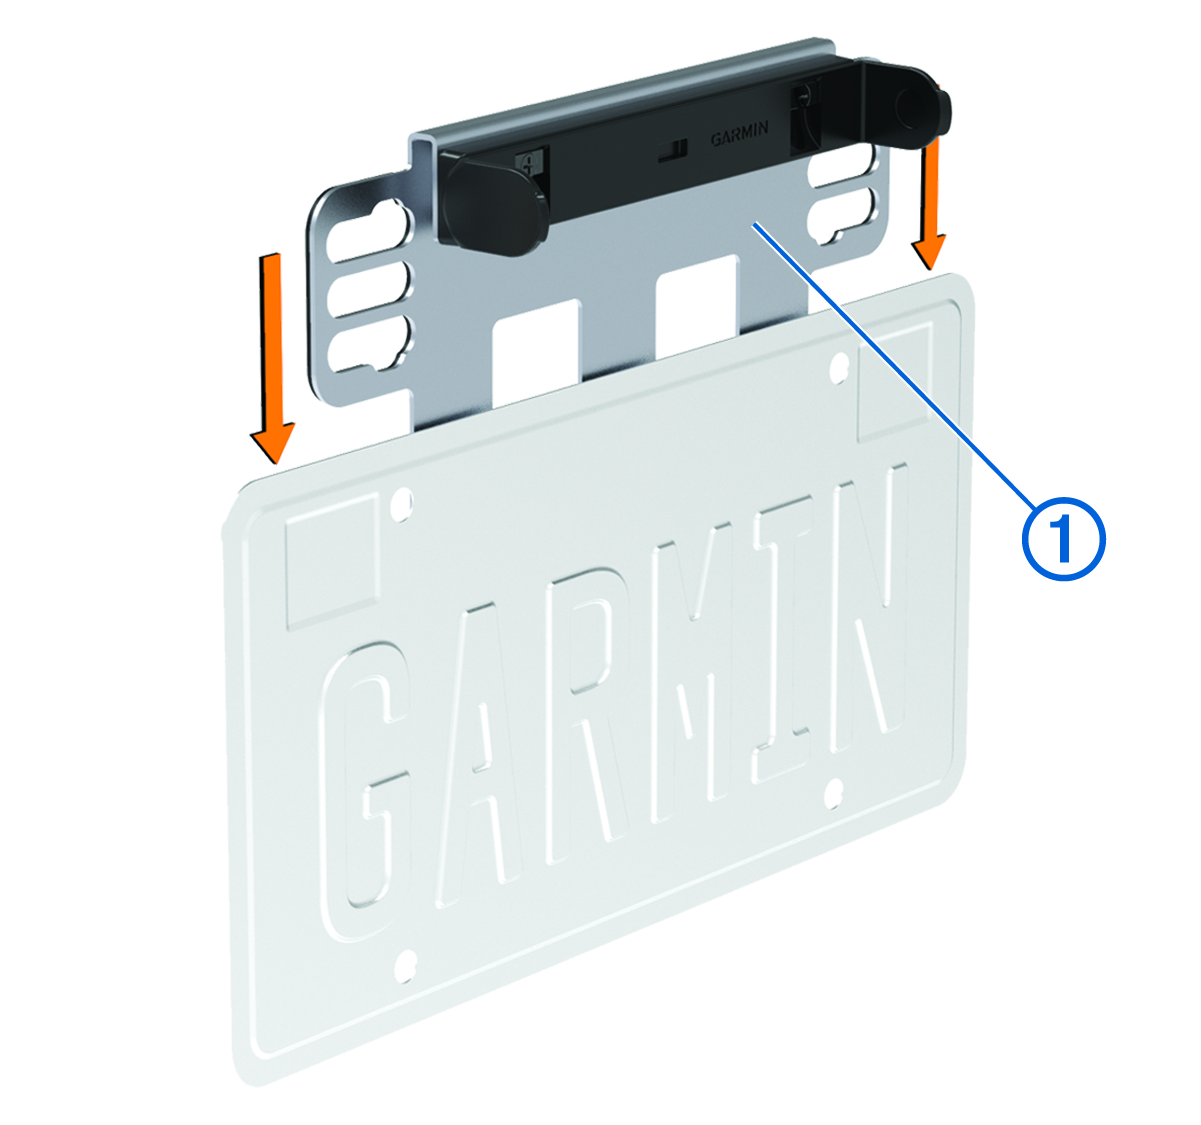
Slide the metal bracket over the top or bottom of the license plate.
The flat metal plate
 on the bracket slides behind the license plate.
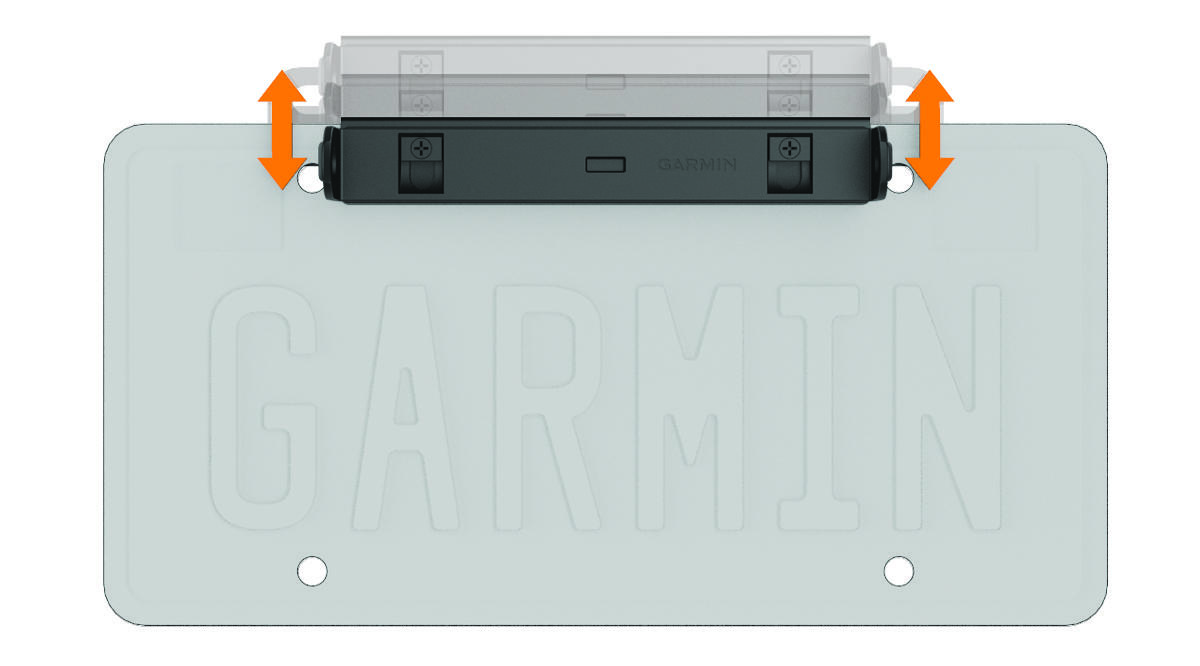
NOTE: It is recommended to install the camera above the license plate, if possible. If there is not enough room above the license plate on your vehicle, you can configure the mount for installation below the license plate (Installing the Camera at the Bottom of Your License Plate). -
Hold the license plate and mount up to the license plate area on your vehicle, and slide the mount up or down to align one set of mounting holes with the holes in the license plate.
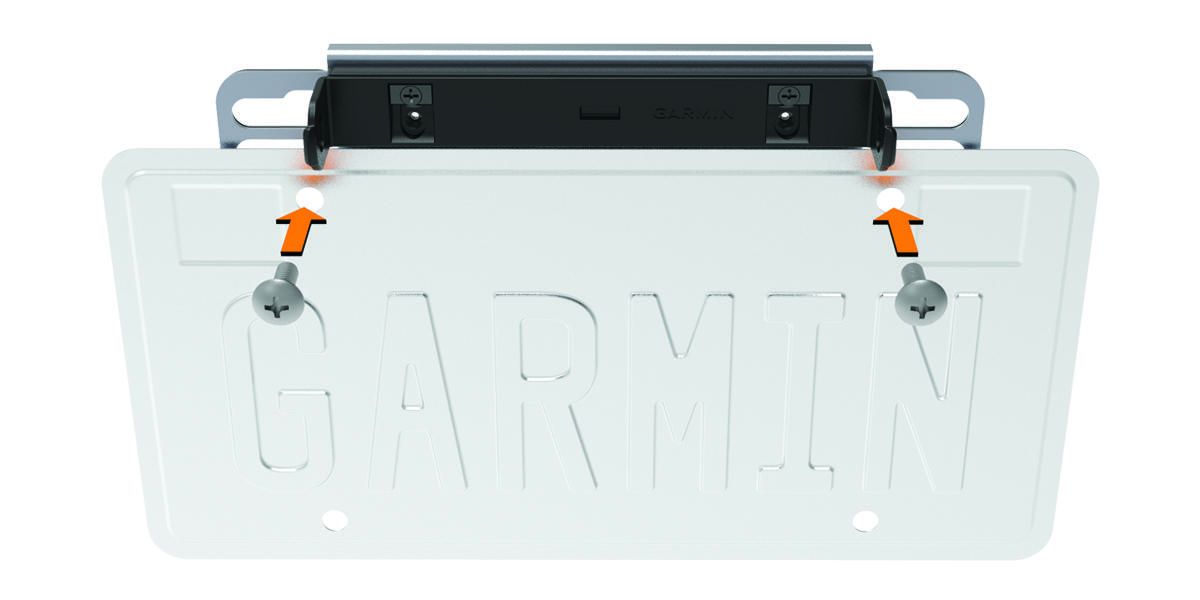
You should use the mounting position that fits your vehicle and covers the smallest portion of the license plate. You must avoid covering any text or numbers on the license plate. Some jurisdictions prohibit covering any portion of the license plate. It is your responsibility to follow license plate mounting regulations.
-
Insert the license plate screws through the top of the license plate and mount, and into the license plate mounting holes on your vehicle.