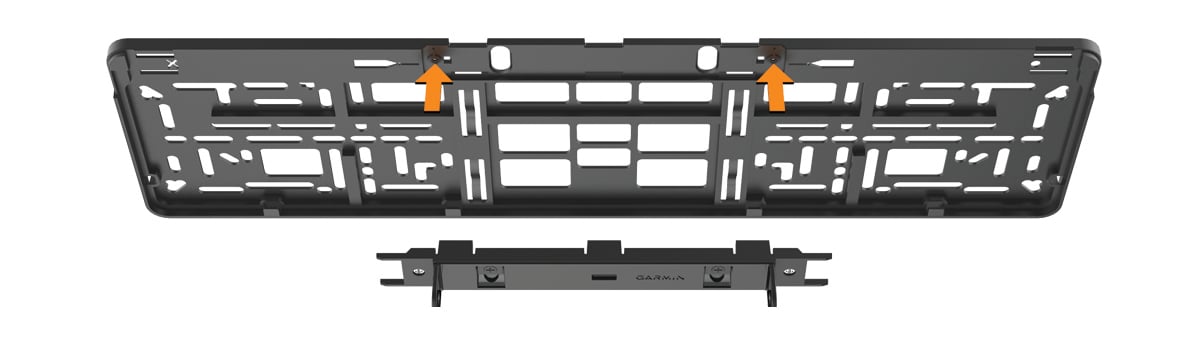
Installing the Camera at the Top of Your License Plate
When the mount is installed on your vehicle, the Garmin® logo on the camera clip must be right-side up. Out of the box, the mount is assembled for installing the camera at the bottom your license plate. When installing the camera at the top of your license plate, you must remove, rotate, and reattach the camera clip. This allows you to properly adjust the camera angle.
-
If you have already installed the license plate fasteners, remove them by prying up the end of each clip using the notches
 and sliding them outward.

-
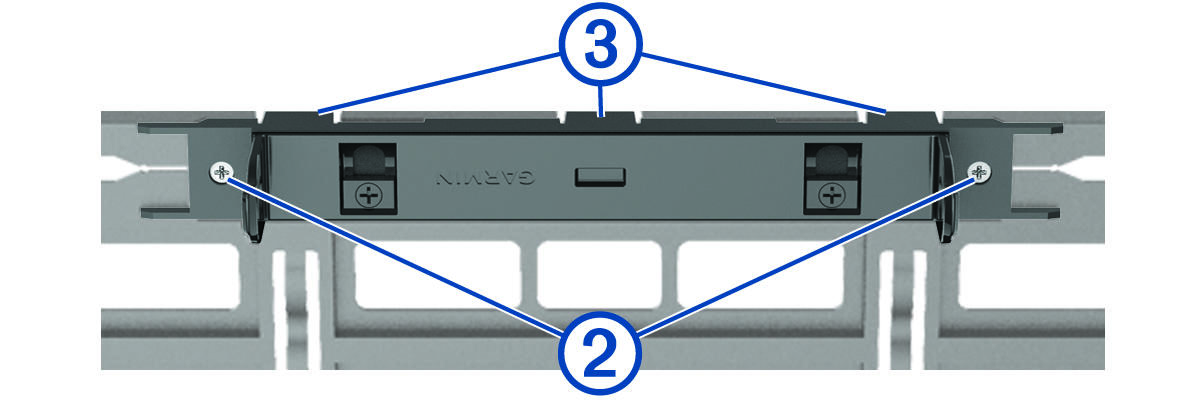
Using a Phillips screwdriver, fully loosen the two camera clip screws
 .
.
-
Gently pry open the tabs
 along the outer edge of the camera clip, and remove the camera clip from the mount.
-
Snap the camera clip back into the mount, and tighten both screws.