Charging the Battery
The status LEDs flash rapidly when the battery charge level is low. You can charge the battery using a standard wall outlet or a USB port on your computer. The camera is powered by a removable lithium-ion battery.
TIP:
The optional external battery charger accessory allows you to charge up to two batteries outside the camera. Go to
garmin.com/virb to purchase the battery charger accessory and spare batteries.
NOTE:
The battery will not charge when outside the approved charging temperature range (Specifications).
-
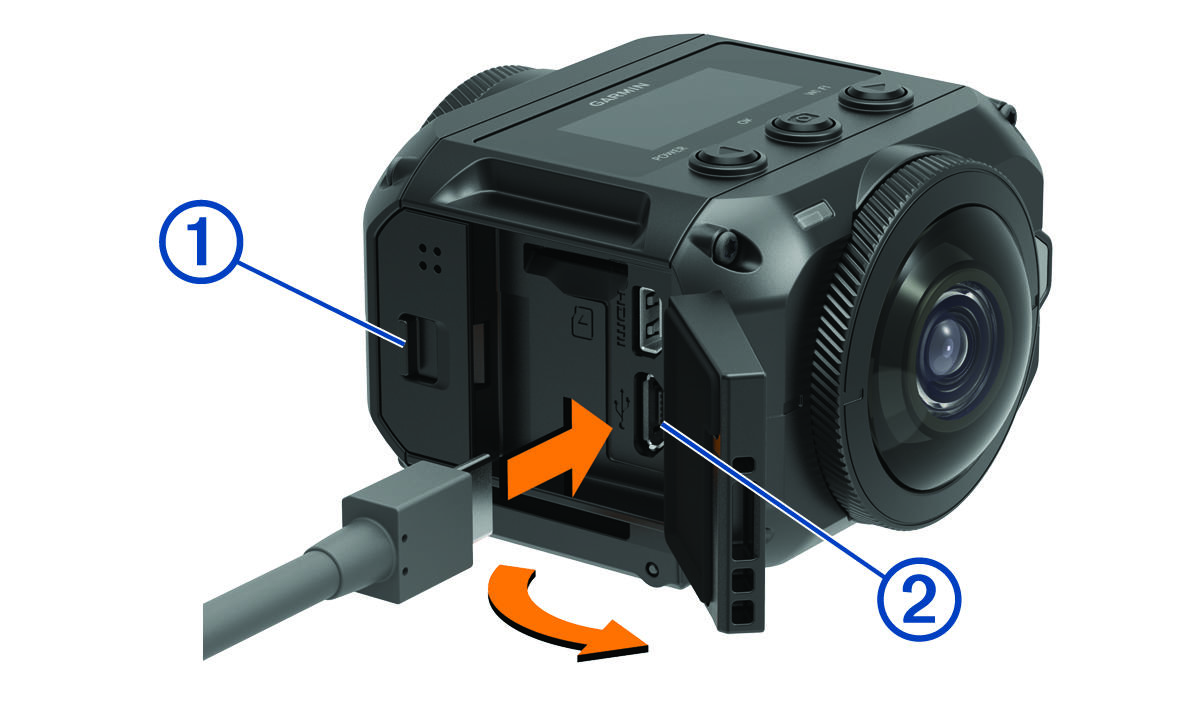
Slide the latch
 to open the side door.
-
Plug the small end of the USB cable into the micro-USB port
 on the camera.
Use only the included micro-USB cable or another cable with a straight micro-USB connector. Do not use a micro-USB cable with an right-angle connector. A right-angle connector may cause damage to the recessed micro-USB port.
-
Plug the large end of the USB cable into a USB wall charger or a computer USB port.
NOTE: For the best results, a USB wall charger that provides at least a 2 A power output is recommended. Many USB power adapters for smartphones or tablets may be compatible.
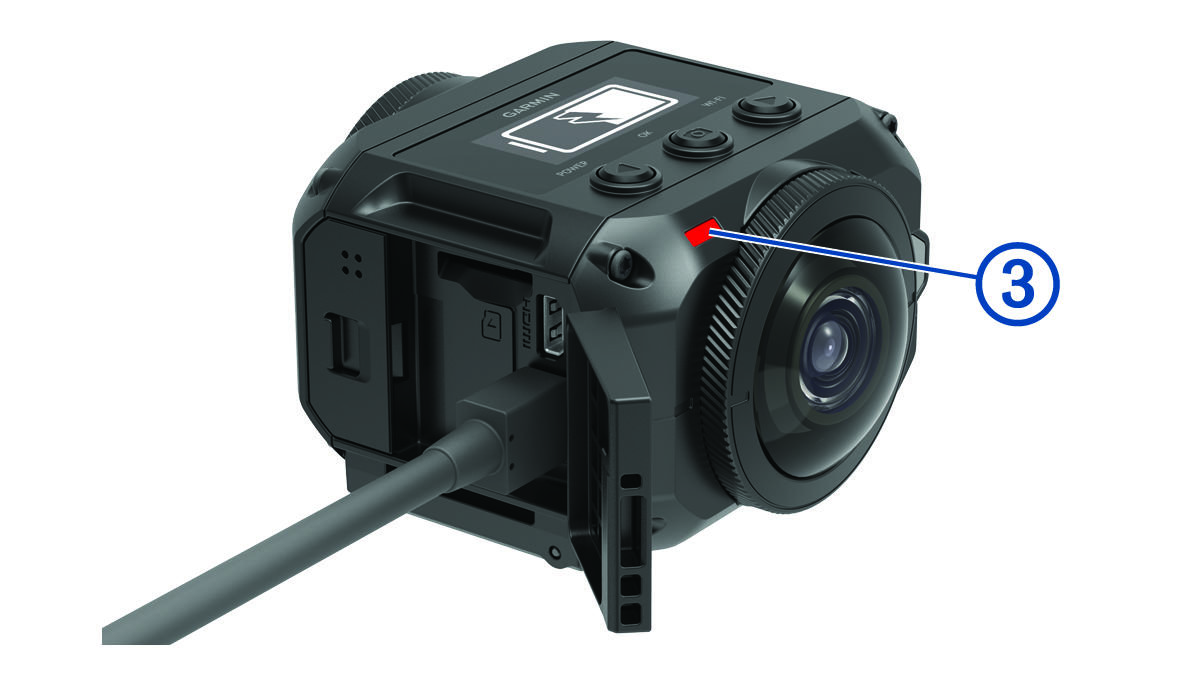
When you connect the device to a power source, one status LED
 turns solid red.