Installing the Transducer
You must use the new screws and seals provided with the transducer replacement kit. Reusing the original screws or seals may lead to product damage.
-
Place the 25 mm (1 in.) O-ring on the recessed nut in the transducer replacement kit.

-
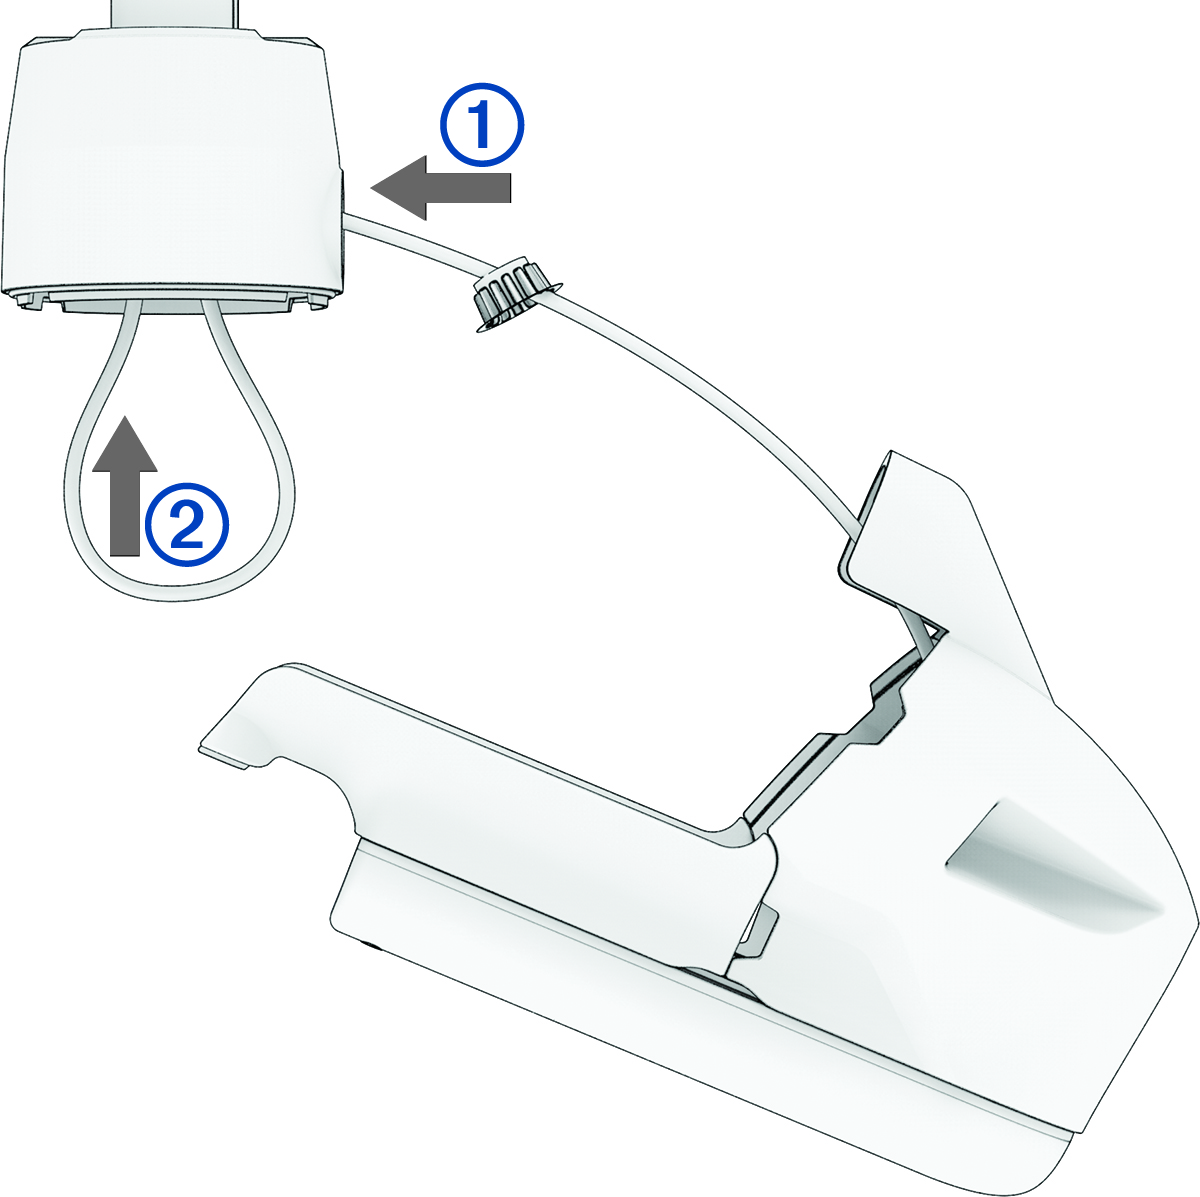
With the O-ring facing the transducer, feed the replacement transducer cable through the recessed nut and the hole in the front of the shaft base
 , but do not feed the cable up through the shaft.
-
Leaving about 60 cm (2 ft.) of the transducer cable out of the front of the shaft base, feed the transducer cable up through the shaft
 .
.