Installing the External GNSS Antenna
To avoid possible personal injury, always wear safety goggles, ear protection and a dust mask when drilling, cutting or sanding.
When drilling or cutting, always check what is on the opposite side of the surface to avoid damaging the vehicle.
This antenna can be installed to provide a more accurate position from the GPS signal for your navigation device. This antenna uses a BNC connector to connect to the dock.
-
Using the included mounting template, mark the three pilot-hole locations
 and trace the cable hole in the centre of the template.
-
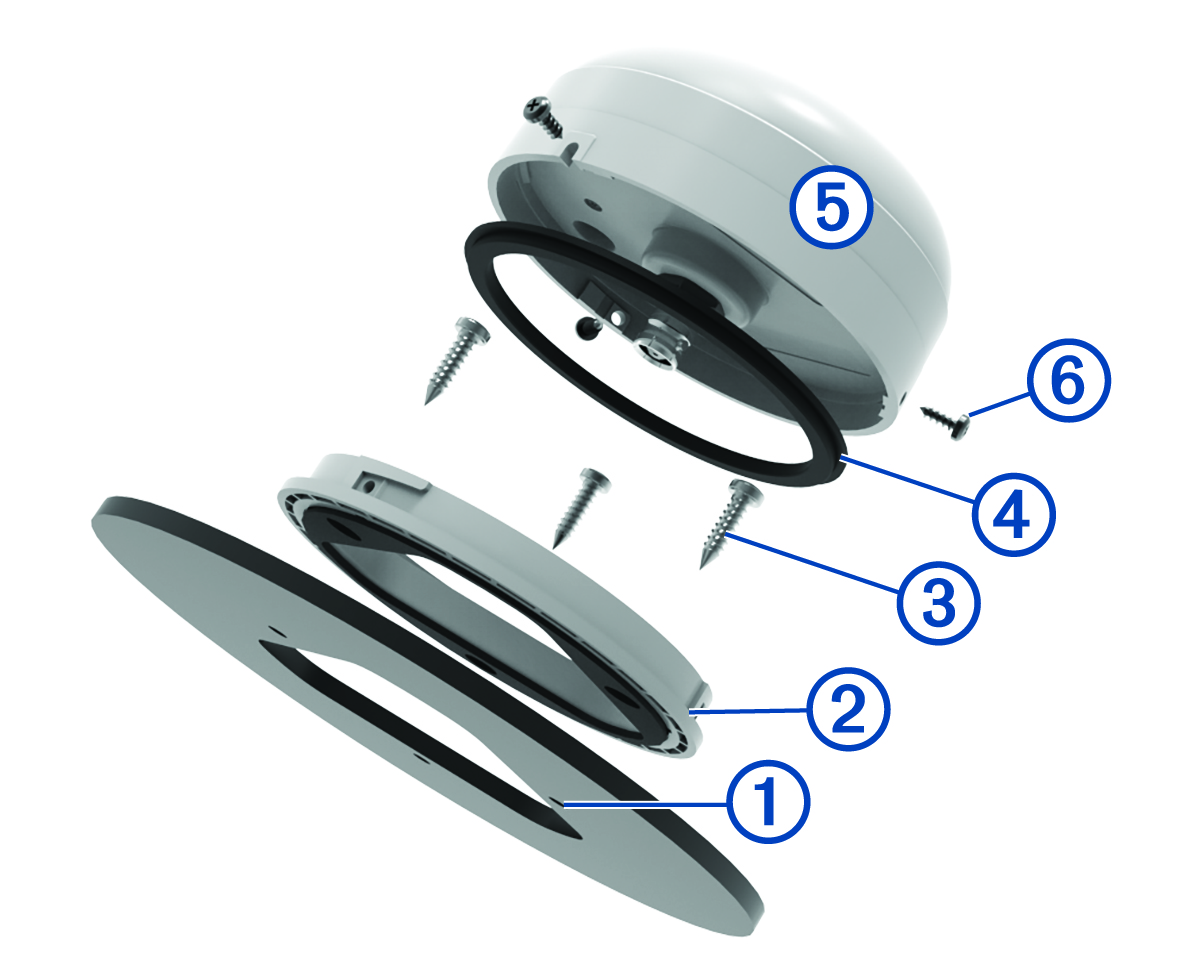
Place the surface-mount bracket
 on the mounting surface, aligning the screw holes.
-
Use the included M4 screws
 to secure the surface-mount bracket to the mounting surface.
-
Place the large gasket
 on top of the surface-mount bracket.
-
Route the antenna cable through the 25 mm (1 in.) hole and connect it to the antenna
 .
.
-
Secure the antenna to the mounting bracket with the included M3 set screws
 .
.