Recording Shot Data
Alignment Considerations
For best results, you should always follow these alignment considerations while using your chronograph.
-
Always observe the position diagram for your projectile type.
-
Always ensure the large, flat side of the chronograph is pointed at the target and the screen is facing you.
-
Always ensure the chronograph has an unobstructed view of the target.
-
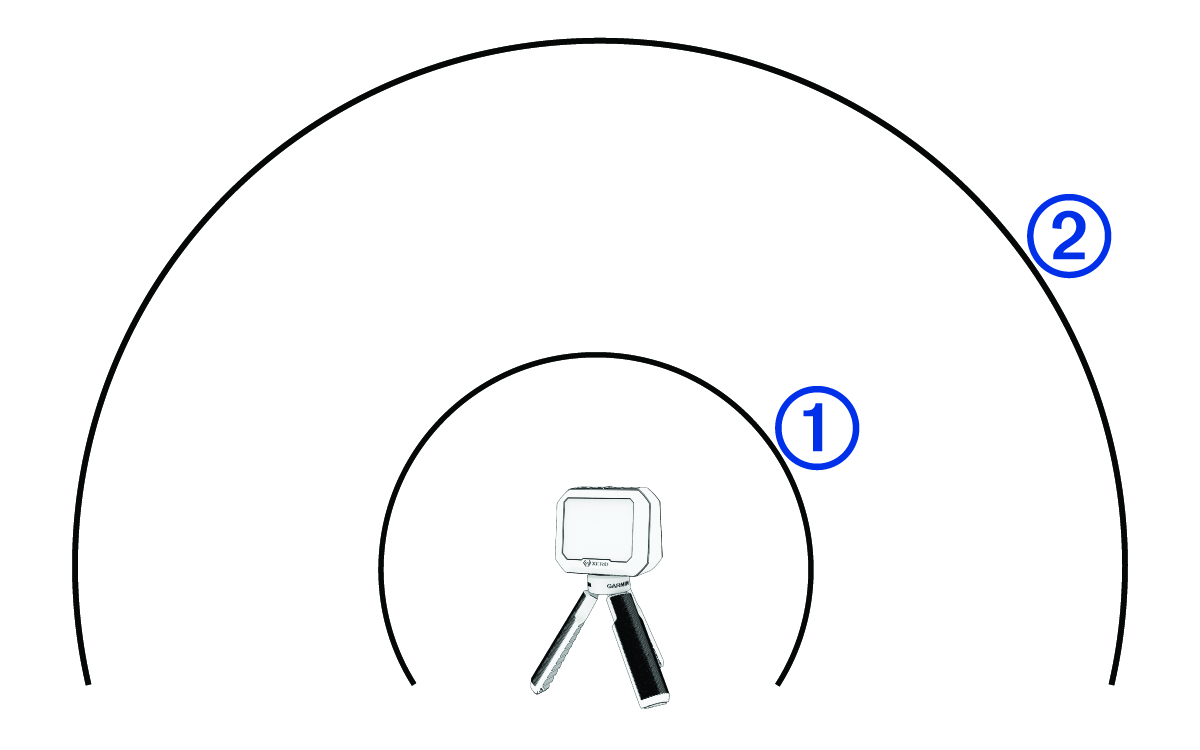
Always ensure the projectile can travel at least 20 meters or 20 yards in front of the chronograph.
Automatic Radar Configuration
The Xero® C1 chronograph automates some setup steps to help you get started faster.
- Frequency Selection
-
When you start a session, the chronograph automatically checks for interference from other radars. If the chronograph detects interference from other radar systems, it switches to a clean channel automatically.
- Position Offset
-
There is no need to enter a position offset manually. The Xero C1 chronograph uses an advanced algorithm that does not need position input to measure true muzzle velocity.
Starting a Bow Session
Always ensure that you position the chronograph so that it is not directly exposed to ejecting cartridge cases, muzzle blast, or other hazards that may damage the chronograph.
When you use the chronograph for archery, you should use a target that is at least 4 meters or 4 yards away from you.
-
Hold the bow over the chronograph so the arrow is 15 to 35 cm (5 to 15 in.) above the chronograph
 .
.
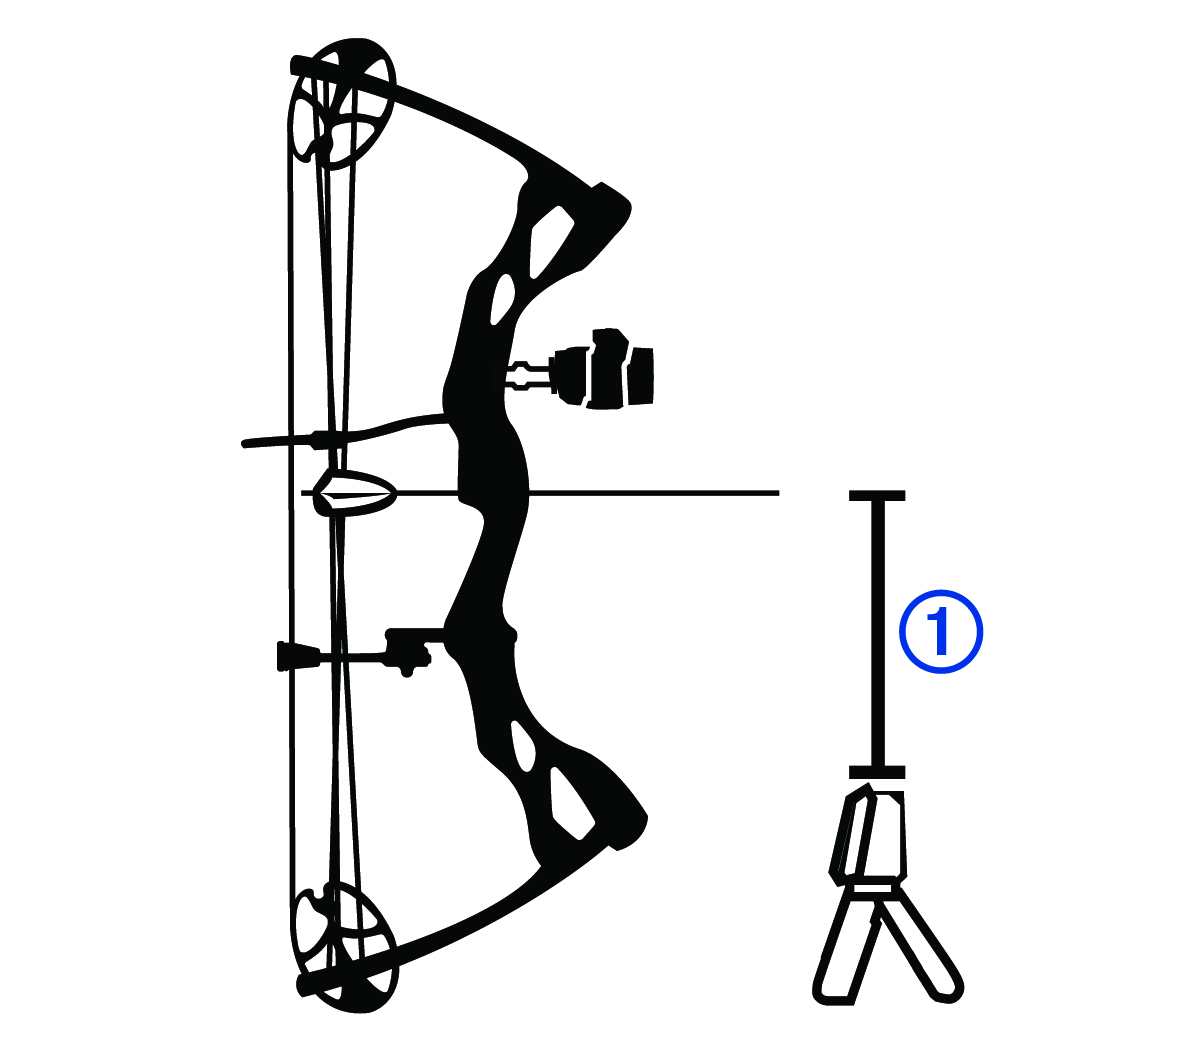
The device detects shots and displays measurements automatically as you shoot. The measured velocity is the speed of the arrow as it passes over the chronograph.
Starting a Rifle Session
Always ensure you position the chronograph so that it is not directly exposed to ejecting cartridge cases, muzzle blast, or other hazards that may damage the chronograph.
-
Position the rifle next to the chronograph, within 15 to 35 cm (5 to 15 in.) of the chronograph , and ensure the chronograph is 15 to 35 cm (5 to 15 in.) behind the muzzle
 .
.
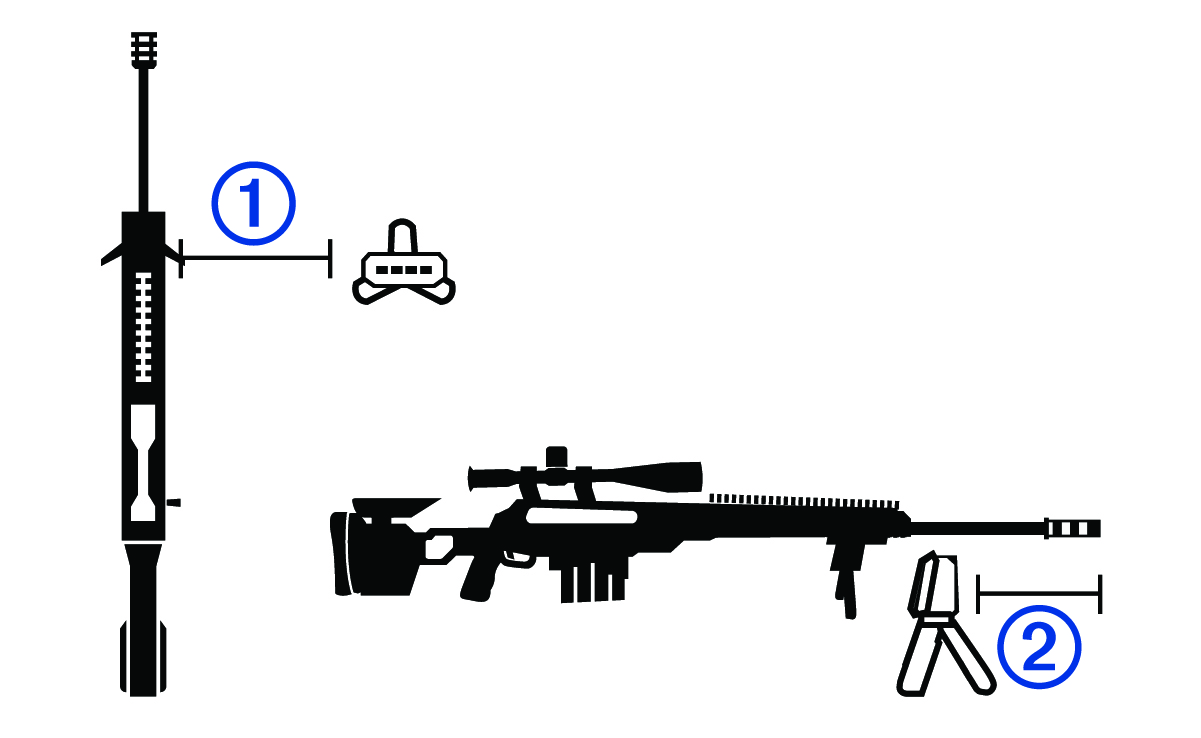
NOTE: The chronograph can be positioned on either side of the rifle.
The device detects shots and displays measurements automatically as you shoot.
Starting a Pistol Session
Always ensure you position the chronograph so that it is not directly exposed to ejecting cartridge cases, muzzle blast, or other hazards that may damage the chronograph.
-
Hold the pistol over the chronograph so the barrel is positioned 15 to 35 cm (5 to 15 in.) above the chronograph .
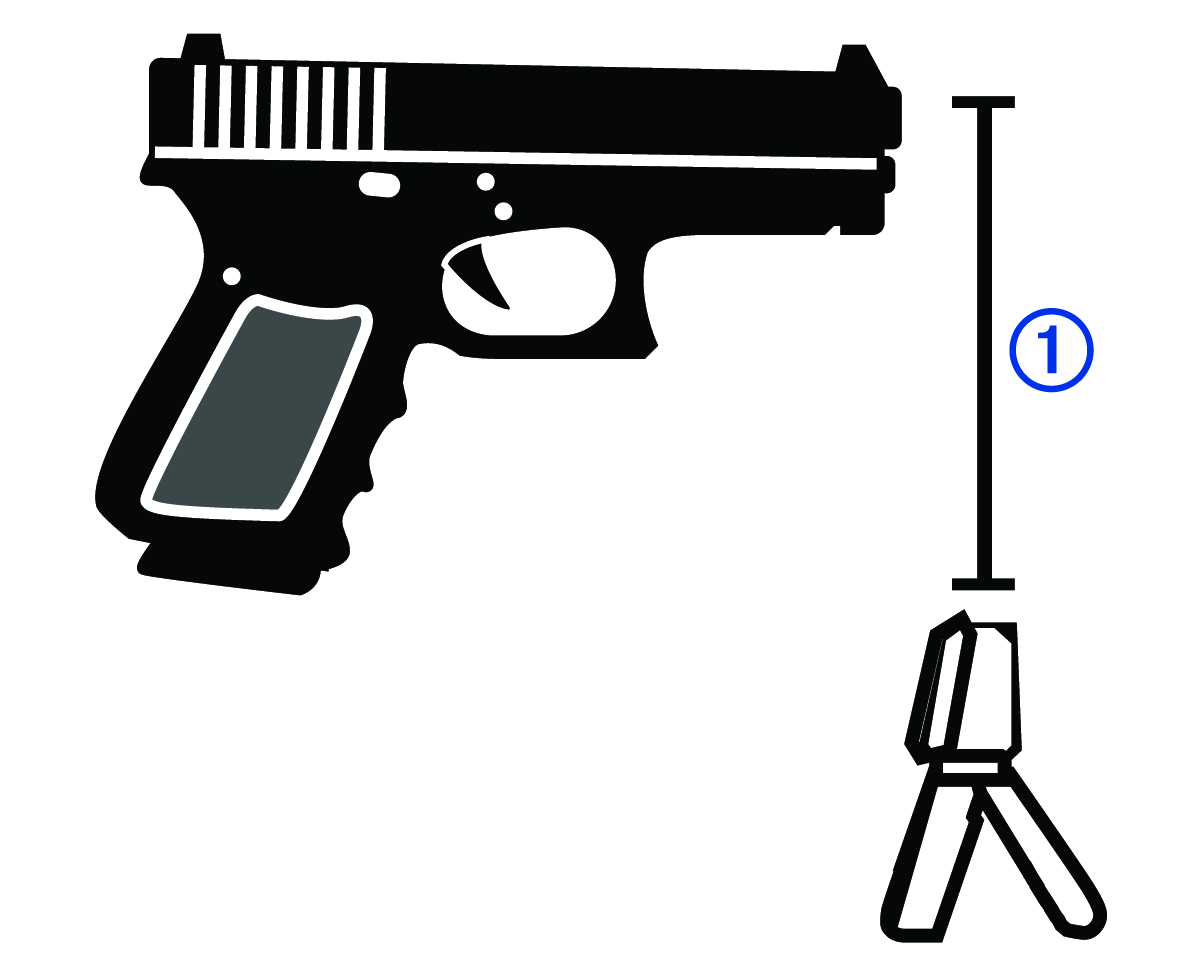
The device detects shots and displays measurements automatically as you shoot.
Starting an Air Rifle Session
Always ensure you position the chronograph so that it is not directly exposed to ejecting cartridge cases, muzzle blast, or other hazards that may damage the chronograph.
-
Position the air rifle next to the chronograph, within 15 to 35 cm (5 to 15 in.) of the chronograph , and ensure the chronograph is within 15 to 35 cm (5 to 15 in.) behind the muzzle .
NOTE: The chronograph can be positioned on either side of the air rifle.
The device detects shots and displays measurements automatically as you shoot.
Starting a Session for Other Projectiles
Always ensure you position the chronograph so that it is not directly exposed to ejecting cartridge cases, muzzle blast, or other hazards that may damage the chronograph.
You can use the Xero C1 chronograph to measure velocity of other projectiles that may not fit into other categories, such as some muzzleloading firearms, shotguns with slugs, slingshots, or other weapons.
-
Position the weapon next to the chronograph, within 15 cm (5 in.) to 35 cm (15 in.) of the chronograph.
NOTE: The weapon can be positioned at any point around the chronograph as long as the weapon and chronograph are positioned 15 to 35 cm (5 to 15 in.) away from each other. You should choose a location that works best for your weapon.
The device detects shots and displays measurements automatically as you shoot.
Pausing a Session
You can pause an active session and resume it later. This can be useful to conserve battery power while you are not using the device.
-
During a session, press
 .
.
- Select PAUSE SESSION.
Resuming a Paused Session
Ending a Session
-
During a session, press
.
- Select END SESSION.