Reinstalling the Shaft
NOTE:
We recommend having a second installer available to support the weight of the propeller drive motor while you feed the shaft through the steering servo housing.
- Feed the transducer cable up through the steering servo housing.
-
Insert the shaft into the bottom of the steering servo housing, guiding the power and data connectors into the steering servo housing to prevent snagging the cables or connectors.
NOTE: The shaft fits in the steering servo housing only in a certain orientation. If you encounter any resistance, remove the shaft, rotate it a few degrees, and try again. When it is in the correct orientation, the shaft will slide into the steering servo easily.
- Push the shaft up the steering servo to a comfortable height for you to access the top of the shaft, and tighten the depth adjustment collar on the base of the steering servo housing.
-
Place the keyed bushing over the keyed side of the shaft, and slide it down until its lip rests on the servo housing.
NOTE: The keyed bushing fits in the steering servo only in a certain orientation. While someone supports the weight of the propeller drive motor on the bottom of the shaft, you can loosen the depth adjustment collar and rotate the shaft and bushing to match the position of the notch in the steering servo housing.

- Install the smooth bushing over the other side of the shaft and slide it down until its lip rests on the steering servo housing.
-
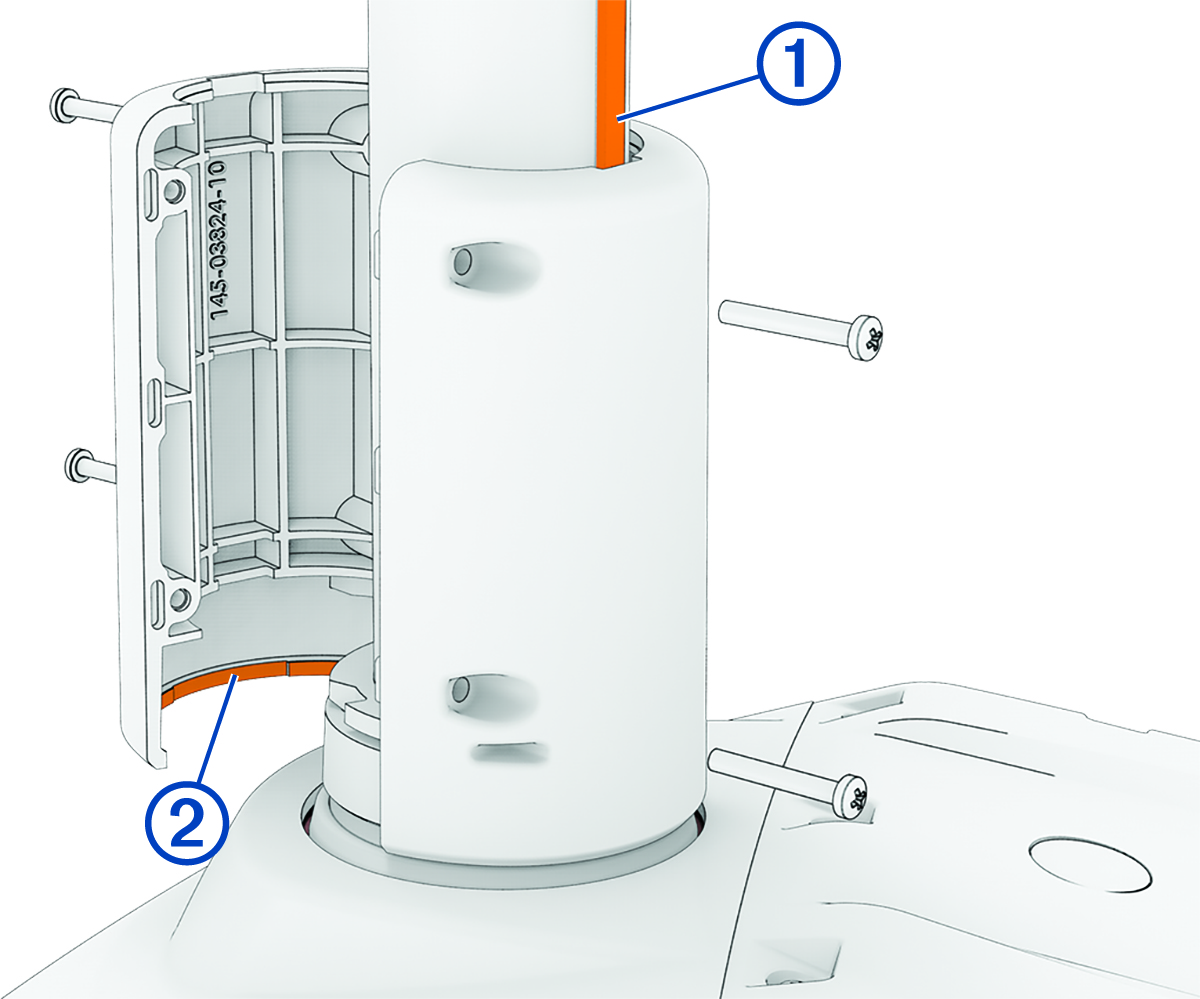
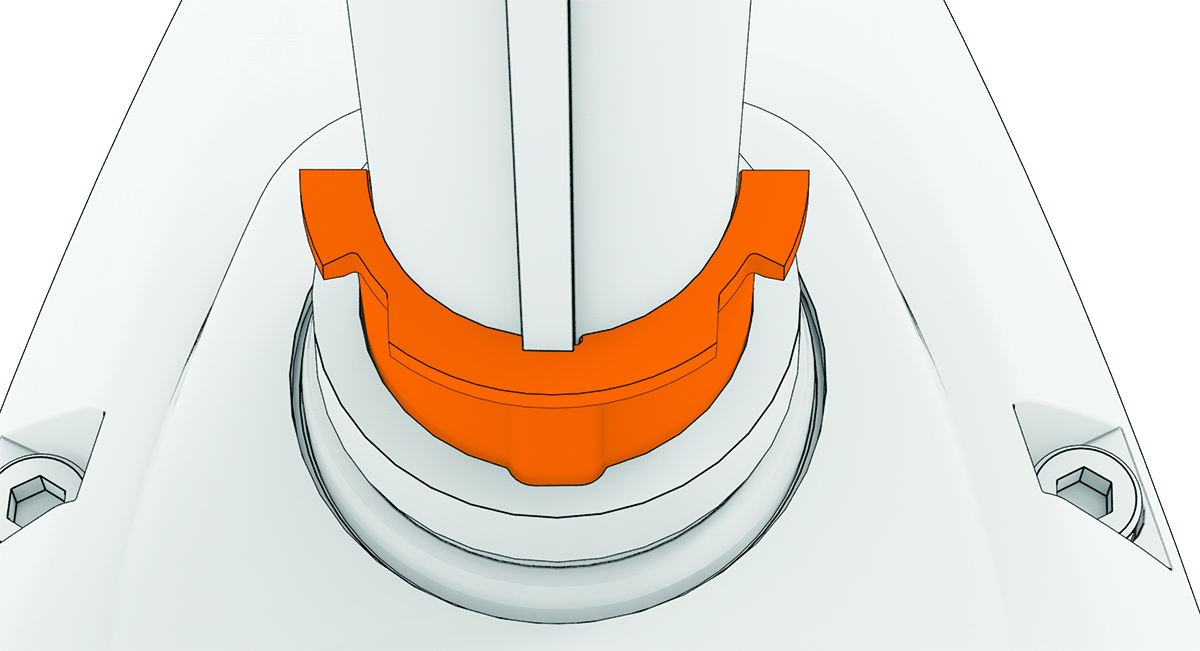
Place both halves of the depth limiter around the shaft so that one half fits over the key on the shaft
, and both halves overlap the top of the steering servo housing
.

-
Using a #2 Phillips screwdriver, install the 3 mm pan head screws to secure both halves of depth limiter together.
When the depth limiter is installed properly, it rotates with the shaft and cannot slide up the shaft.
- Reinstall the shaft cap (Installing the Shaft Cap).