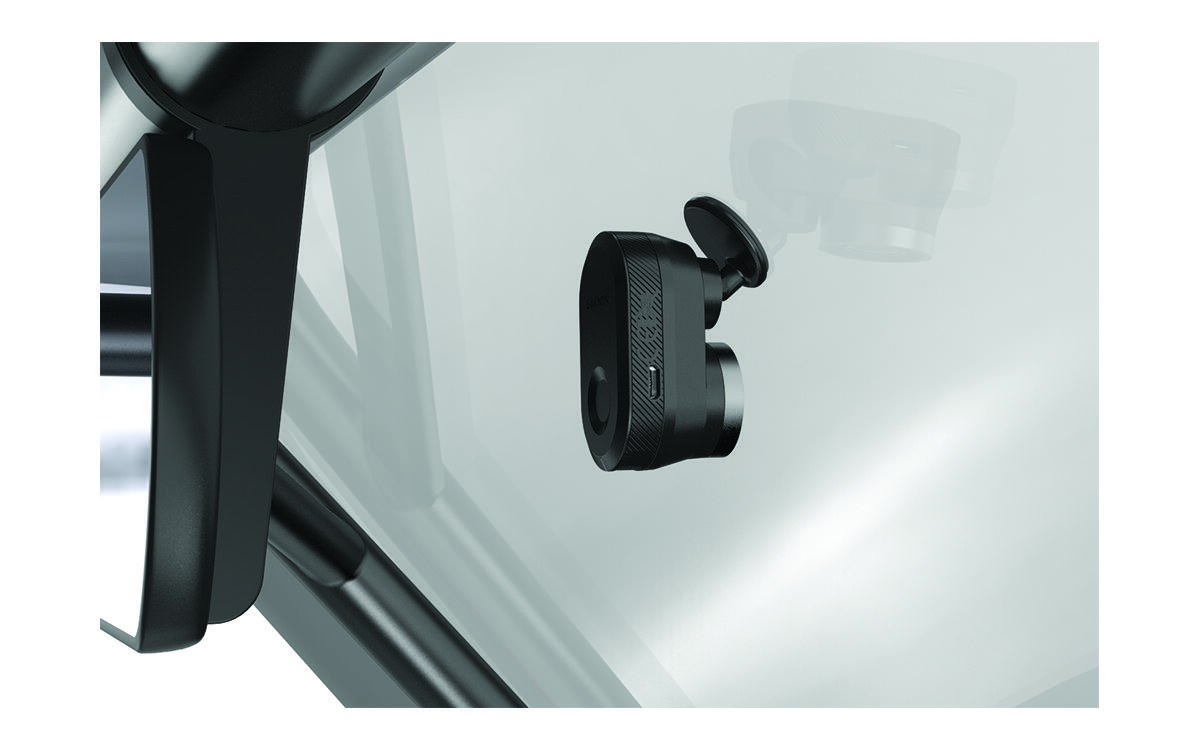
Installing the Remote Cam on Your Windscreen
The adhesive mount is intended for a long-term installation and can be difficult to remove. You should carefully consider the mounting location before you install the mount.
Before you can install the adhesive mount onto your windscreen, you should review the windscreen mounting considerations (Camera Mounting Considerations).
For the best results, the ambient temperature should be from 21° to 38°C (from 70° to 100°F) while installing the camera on your windscreen. The adhesive may not bond correctly if the temperature is outside this range. If you need to install the camera at lower temperatures, you must clear all snow, ice and moisture from the windscreen and warm the windscreen using the vehicle defroster before installing the camera.
The camera attaches to the windscreen using the included adhesive mount.
- After you have selected a mounting location with a clear view, remove the protective film from the mount adhesive.
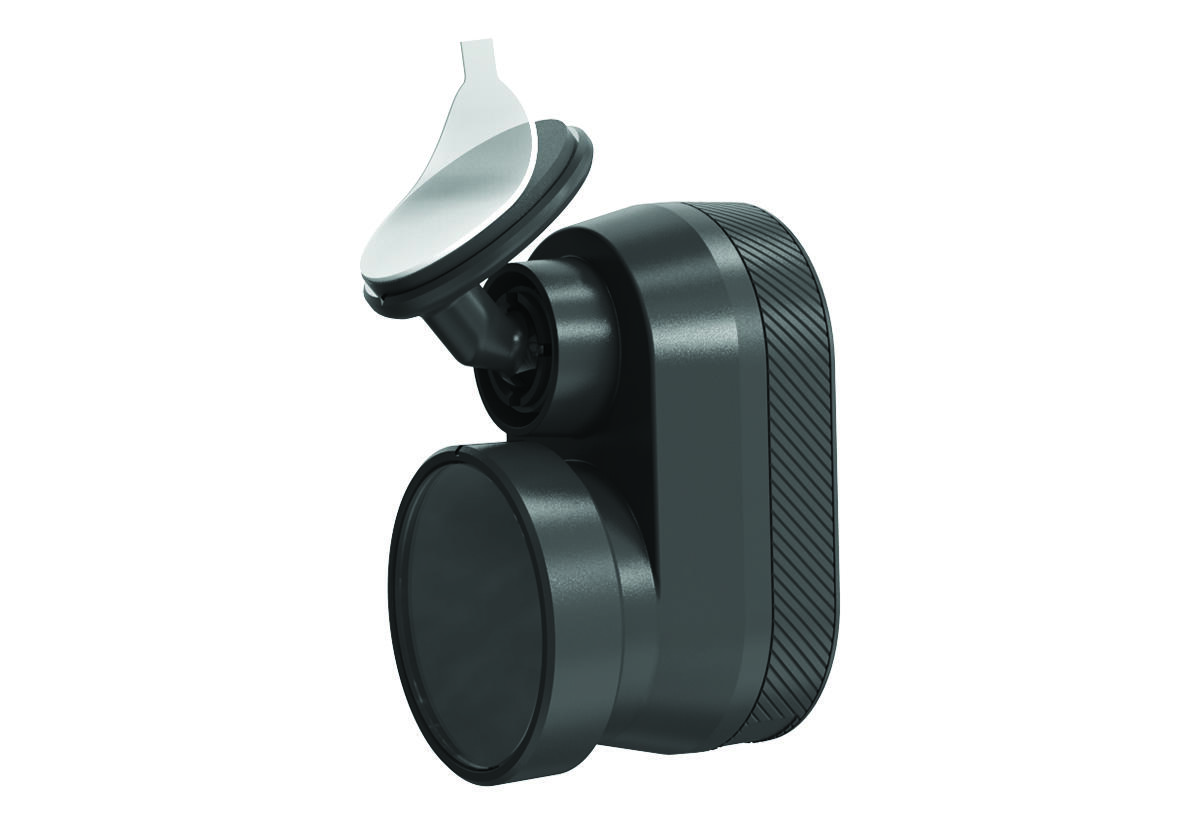
- Press the mount firmly onto the windscreen and maintain pressure for 30 seconds.
This helps to ensure the mount adhesive has proper contact with the windscreen.