Going for a Ride
If you are using a wireless sensor or accessory, it can be paired and activated during initial setup (Pairing Your Wireless Sensors). If your device was packaged with a wireless sensor, they are already paired and can be activated during initial setup.
-
Hold
 to turn on the device.
-
From the home screen, select
 or
or
 to select an activity profile.
-
Select
 .
.
-
Select
 to start the activity timer.
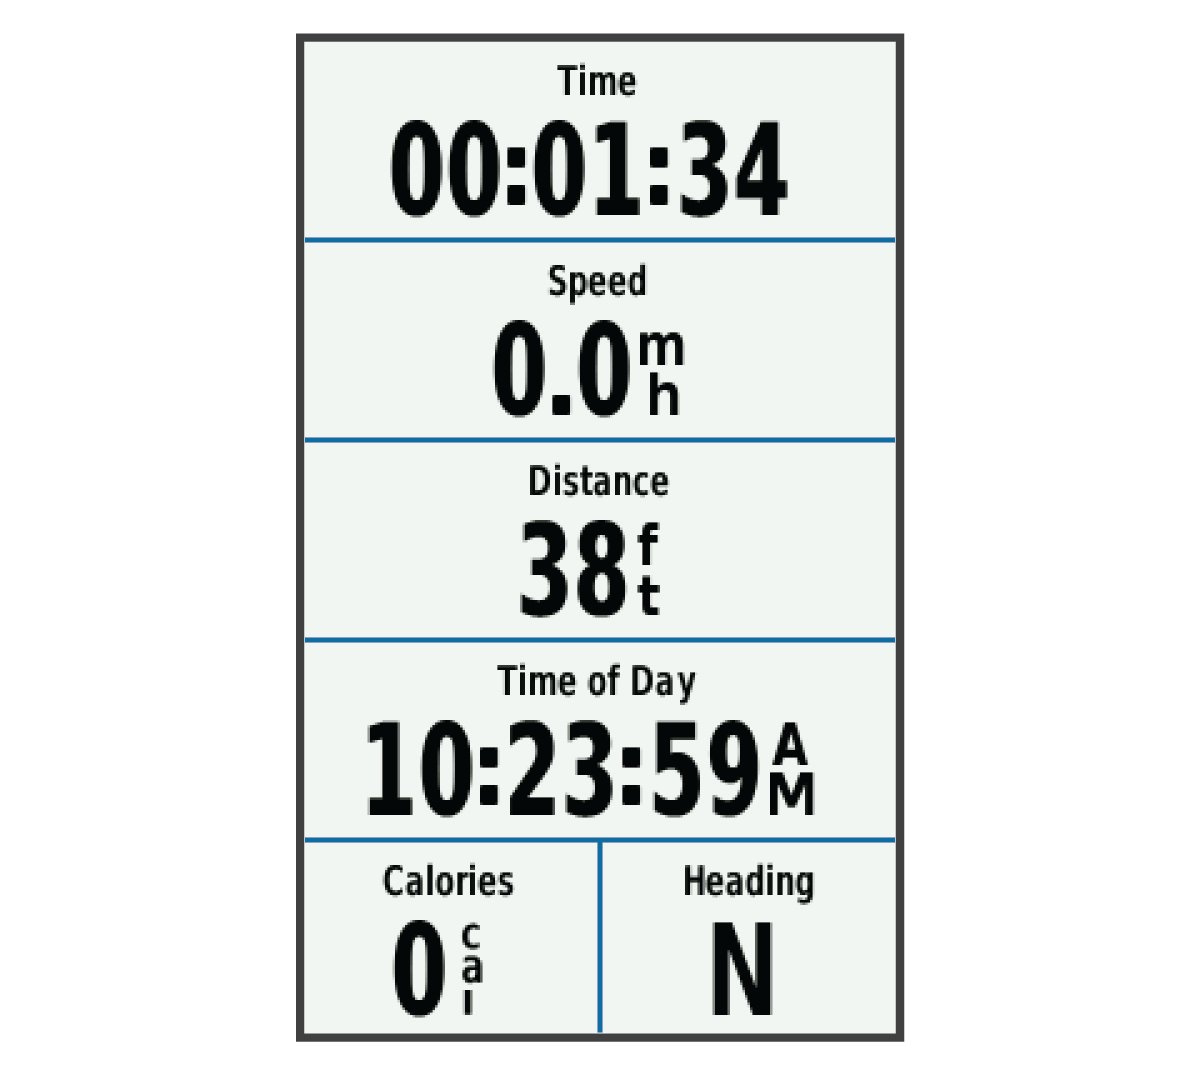
NOTE: History is recorded only while the activity timer is running. -
Select
to stop the activity timer.
TIP: Before you save this ride and share it on your Garmin Connect™ account, you can change the ride type. Accurate ride type data is important for creating bike friendly courses.
-
Select
 .
.