Installing the Transducer
Before you can install the new transducer, you must remove the existing transducer (Removing the Transducer).
New screws and seals are provided in the transducer replacement kit. You should use the new parts from the kit instead of reusing the screws and seals you removed with the transducer.
-
Place the new neoprene pad
 from the transducer replacement kit on the replacement transducer.

-
Using a 3 mm hex bit or driver and the six new screws and bushings
 from the transducer replacement kit, secure the replacement transducer to the nose cone.
-
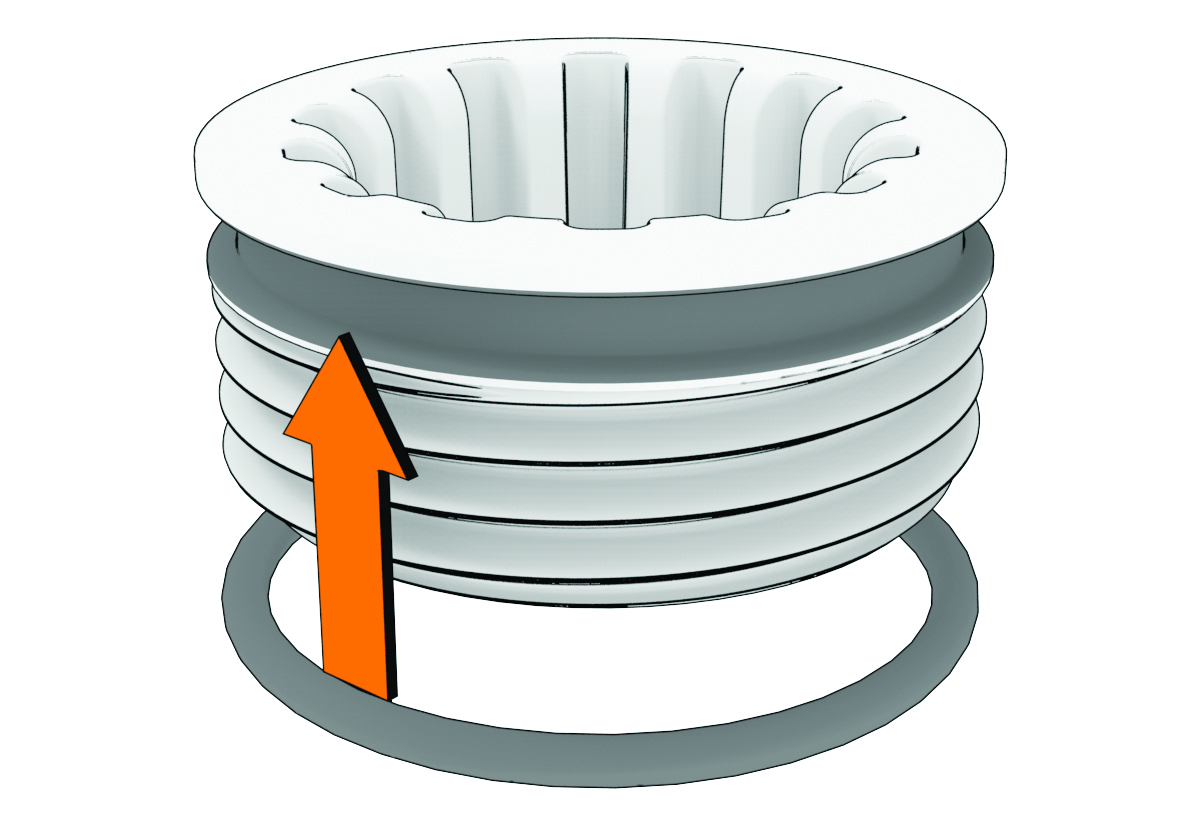
Place the 25 mm (1 in.) O-ring on the recessed nut in the transducer replacement kit.
-
With the O-ring facing the transducer, feed the replacement transducer cable through the recessed nut
 and the hole
  in the front of the shaft base, but do not feed it up through the shaft.

-
After you have fed all but approximately 60 cm (2 ft.) of the transducer cable through the hole in the shaft base, feed the transducer cable up through the shaft.
