Installing the Rotatable End Caps for the Tacx NEO 2T Trainer
The Tacx® Alpine is compatible with the Tacx NEO 2T trainer, but you must install the new, rotatable end caps on both sides of the trainer. The old end caps and spacer (for disc brakes) are not compatible. Using the old parts could lead to property damage.
If you have a Tacx NEO 3M trainer, see Installing the Tacx Alpine.
-
Open installation kit
 , and take out the blue tool, spacer, and
Driveside 5-6Nm locknut.
, and take out the blue tool, spacer, and
Driveside 5-6Nm locknut.
-
Use the table to choose the correct parts for your axle type.
Axle
End Cap Support
Rotatable End Caps (2)
130 mm quick release axle
QR 130
QR
QR
135 mm quick release axle

QR 135 | Thru-Axle 142
QR
QR
142 mm thru axle
QR 135 | Thru-Axle 142
Thru-Axle 12mm
Thru-Axle 12mm
148 mm thru axle
Thru-Axle 148
Thru-Axle 12mm
Thru-Axle 12mm
-
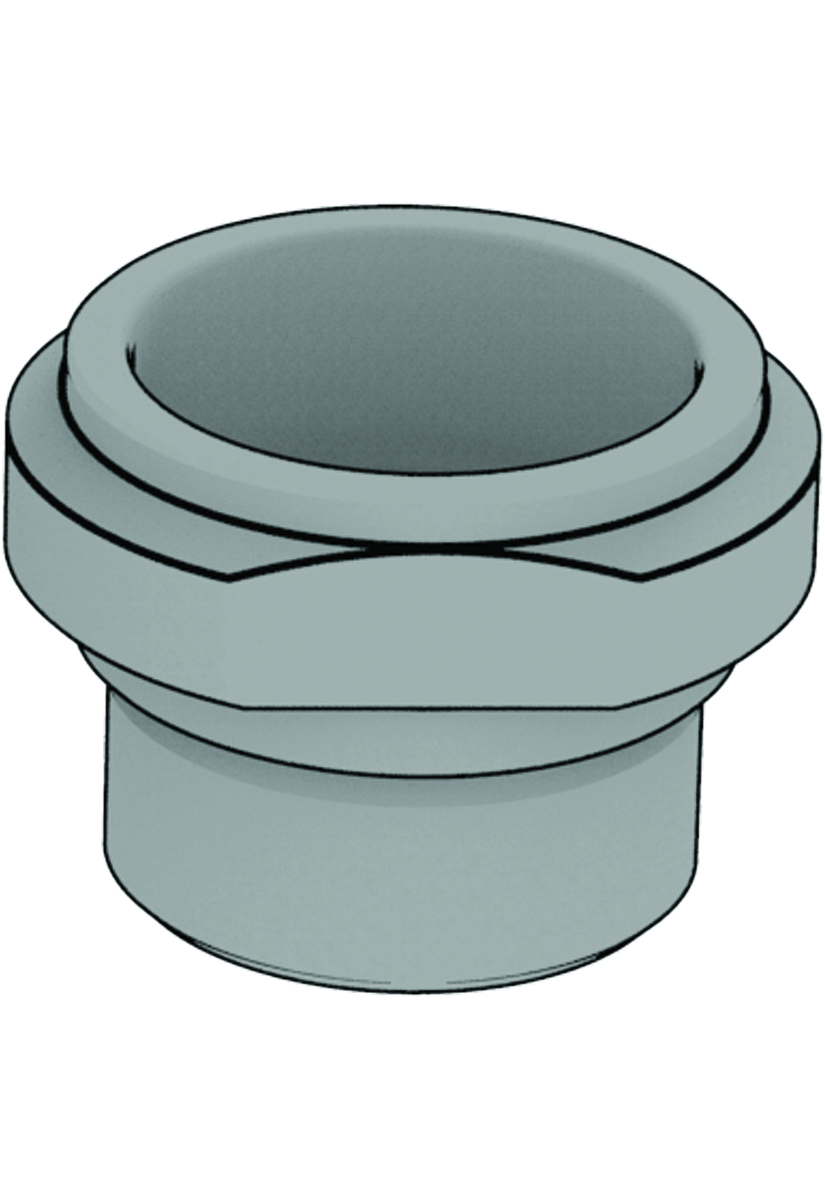
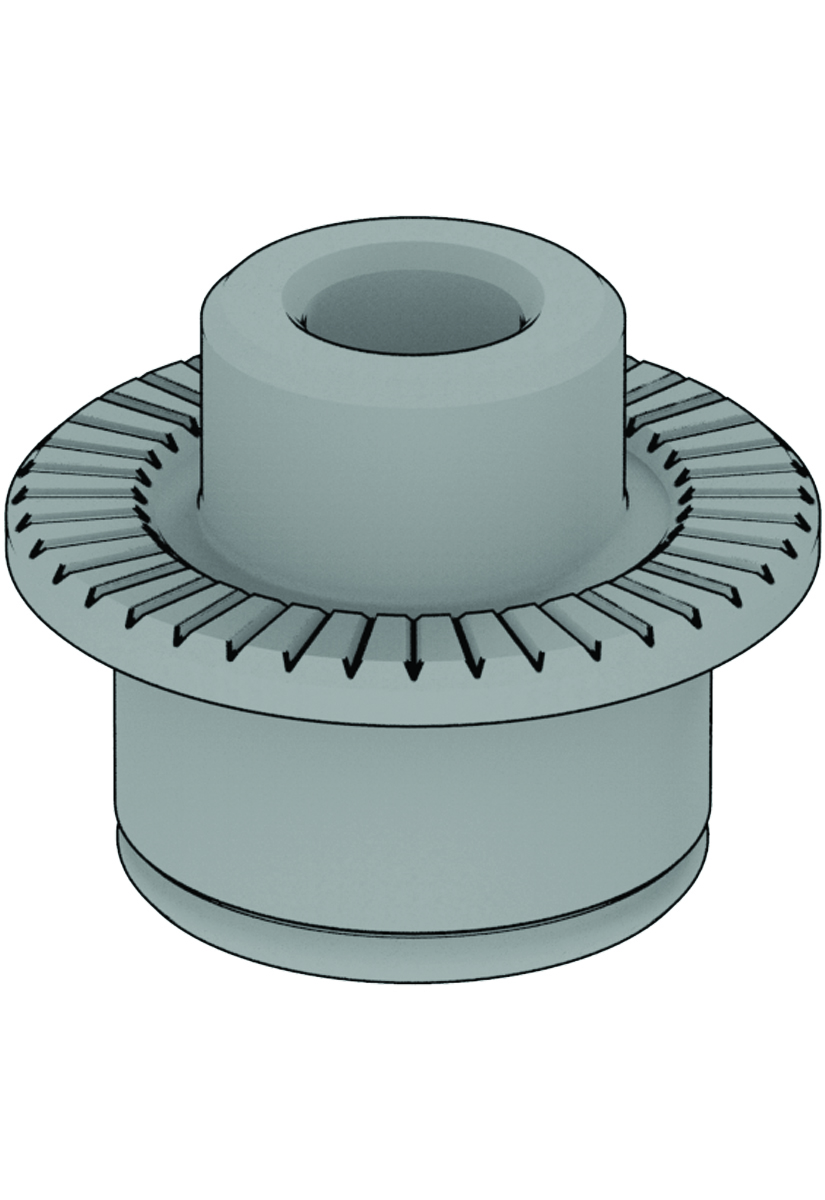
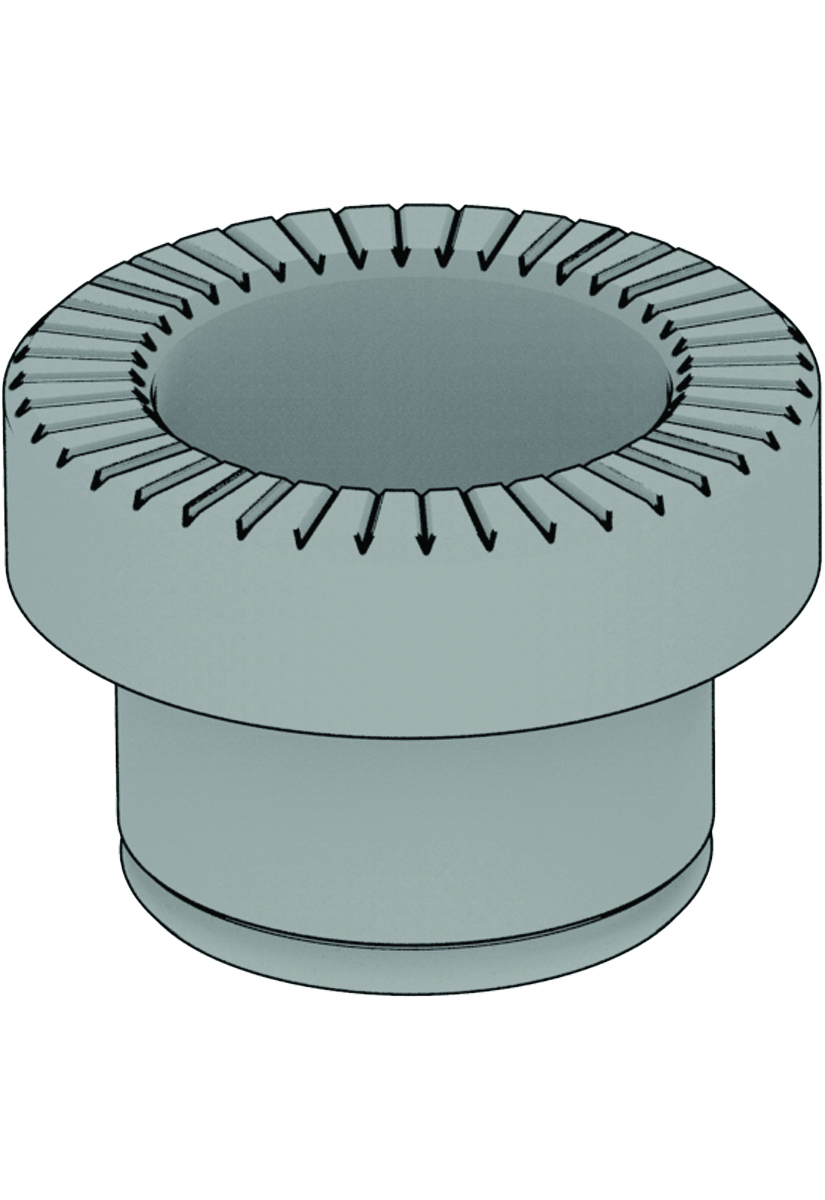
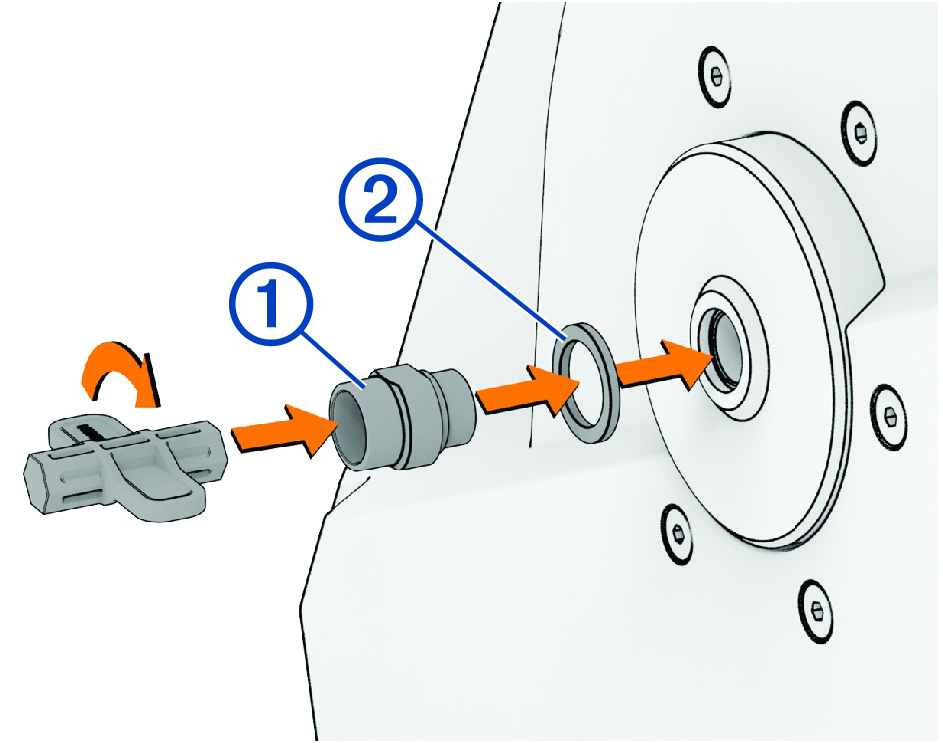
On the non-drive side of the trainer, use the blue tool to install the end cap support .
NOTE: If you have disc brakes, you must install the new spacer to provide clearance between the trainer and the brake caliper.
-
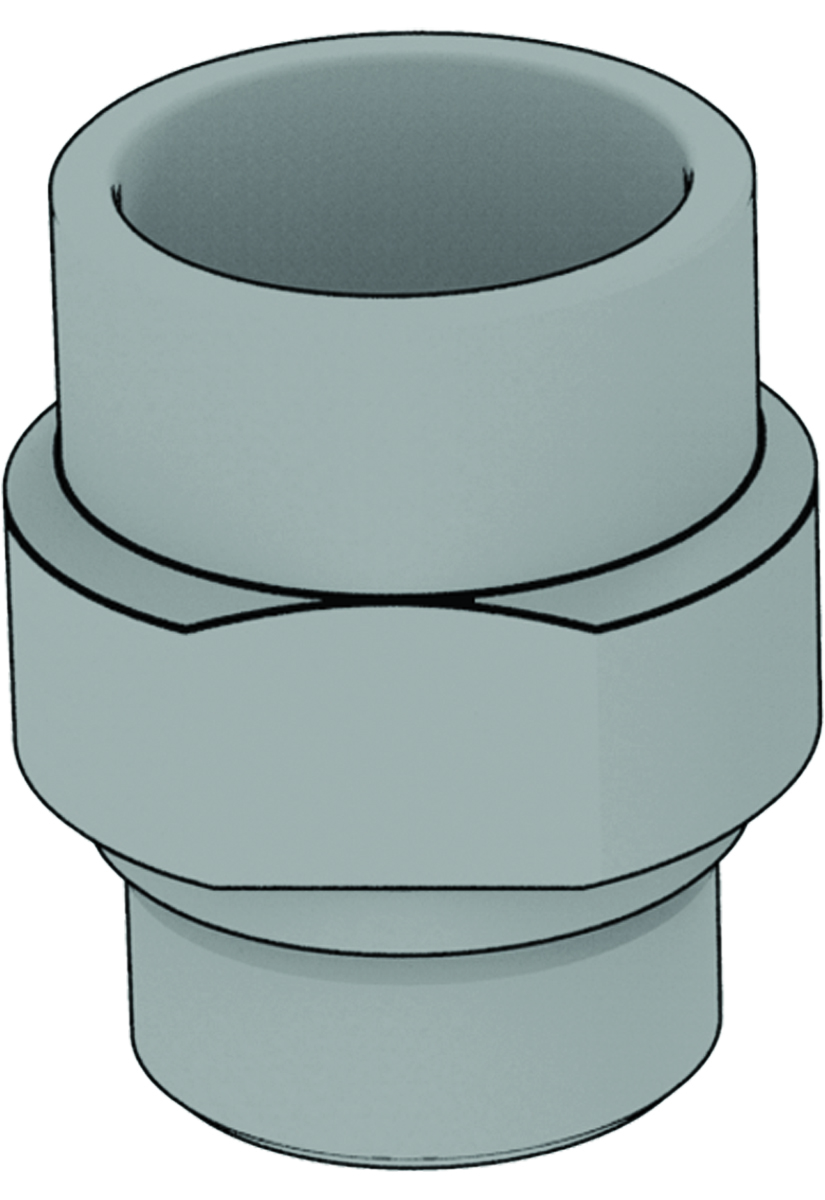
On the drive side of the trainer, use the blue tool to install the
Driveside 5-6Nm locknut .
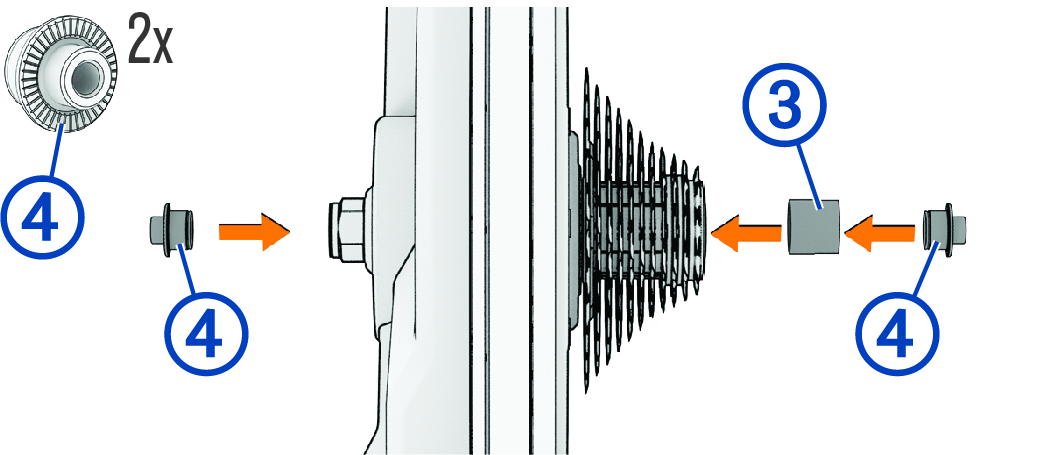
You can hand tighten the locknut using the blue tool. When using a torque wrench, Garmin® recommends a maximum torque of 6 N-m (4.4 lbf-ft.) for the locknut.