Checking for Clearance
Failure to perform one or more of the following actions could result in possible property damage.
When attaching the thru axle or quick release axle, you must check for clearance using the
compatibility gauge (installation kit  ). Interference between the bike and the Tacx® Alpine could result in possible property damage (Installing the
Tacx Alpine).
). Interference between the bike and the Tacx® Alpine could result in possible property damage (Installing the
Tacx Alpine).
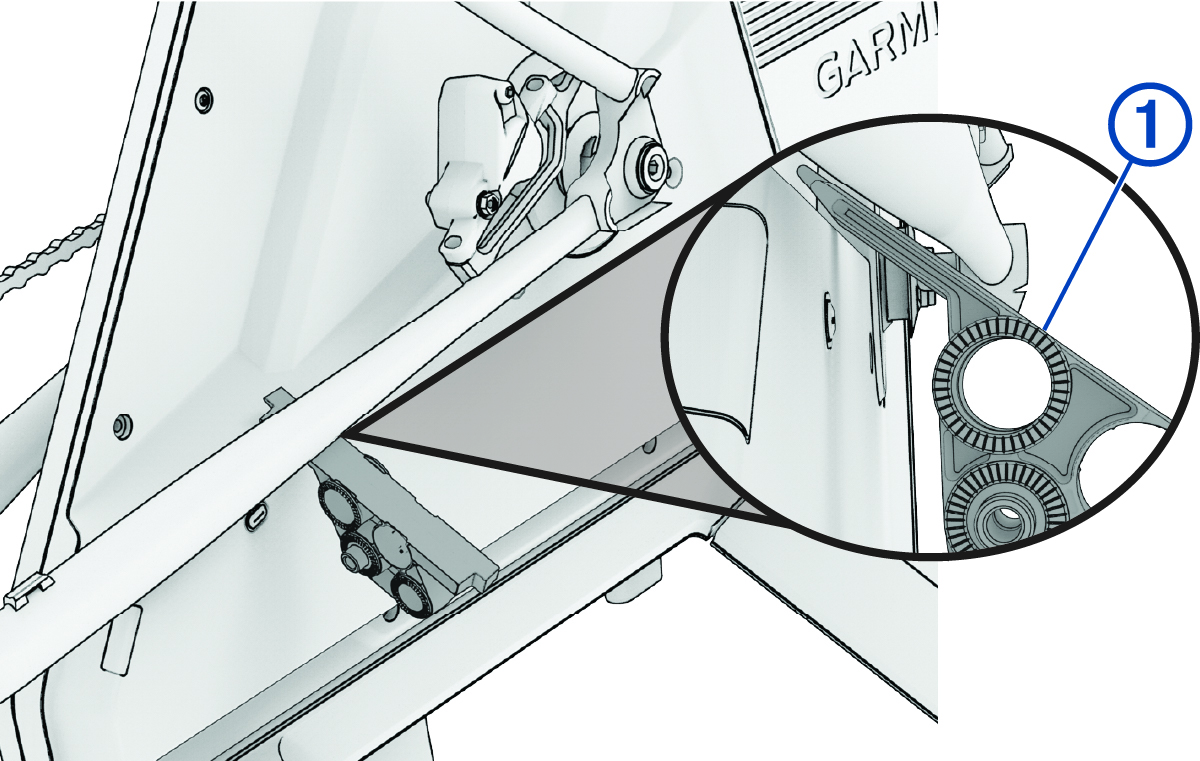
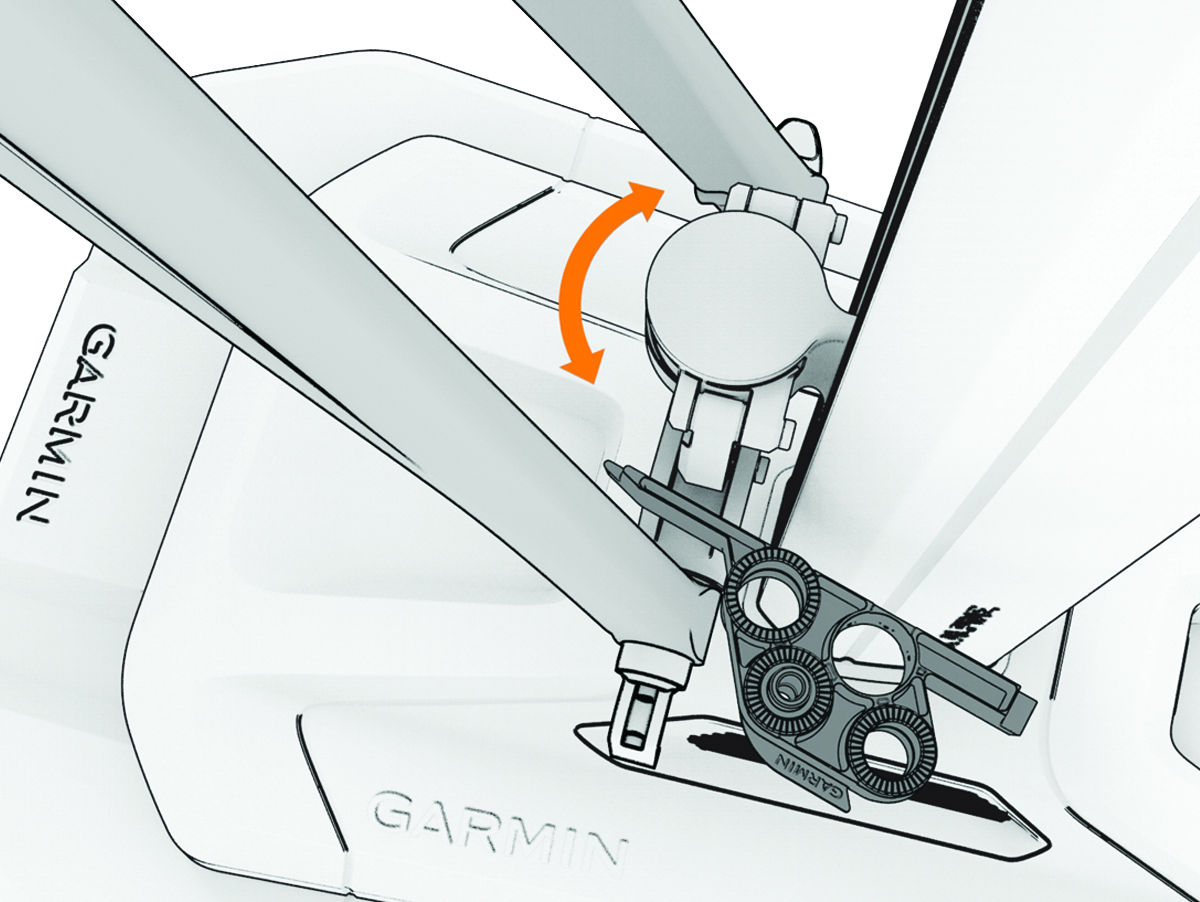
Checking the Chain Stay Clearance
.
-
Press

 at the same time to return the
Tacx Alpine to 0% grade.
at the same time to return the
Tacx Alpine to 0% grade.
-
Open installation kit , and select the compatibility gauge .
You should be able to fit the gauge between the trainer and the chain stay.
-
Press , checking the clearance each time you press the button.
You can also control the grade manually using the Tacx Training app in the device settings.
-
Press , and note the grade.
TIP: The Tacx Training app displays the grade.
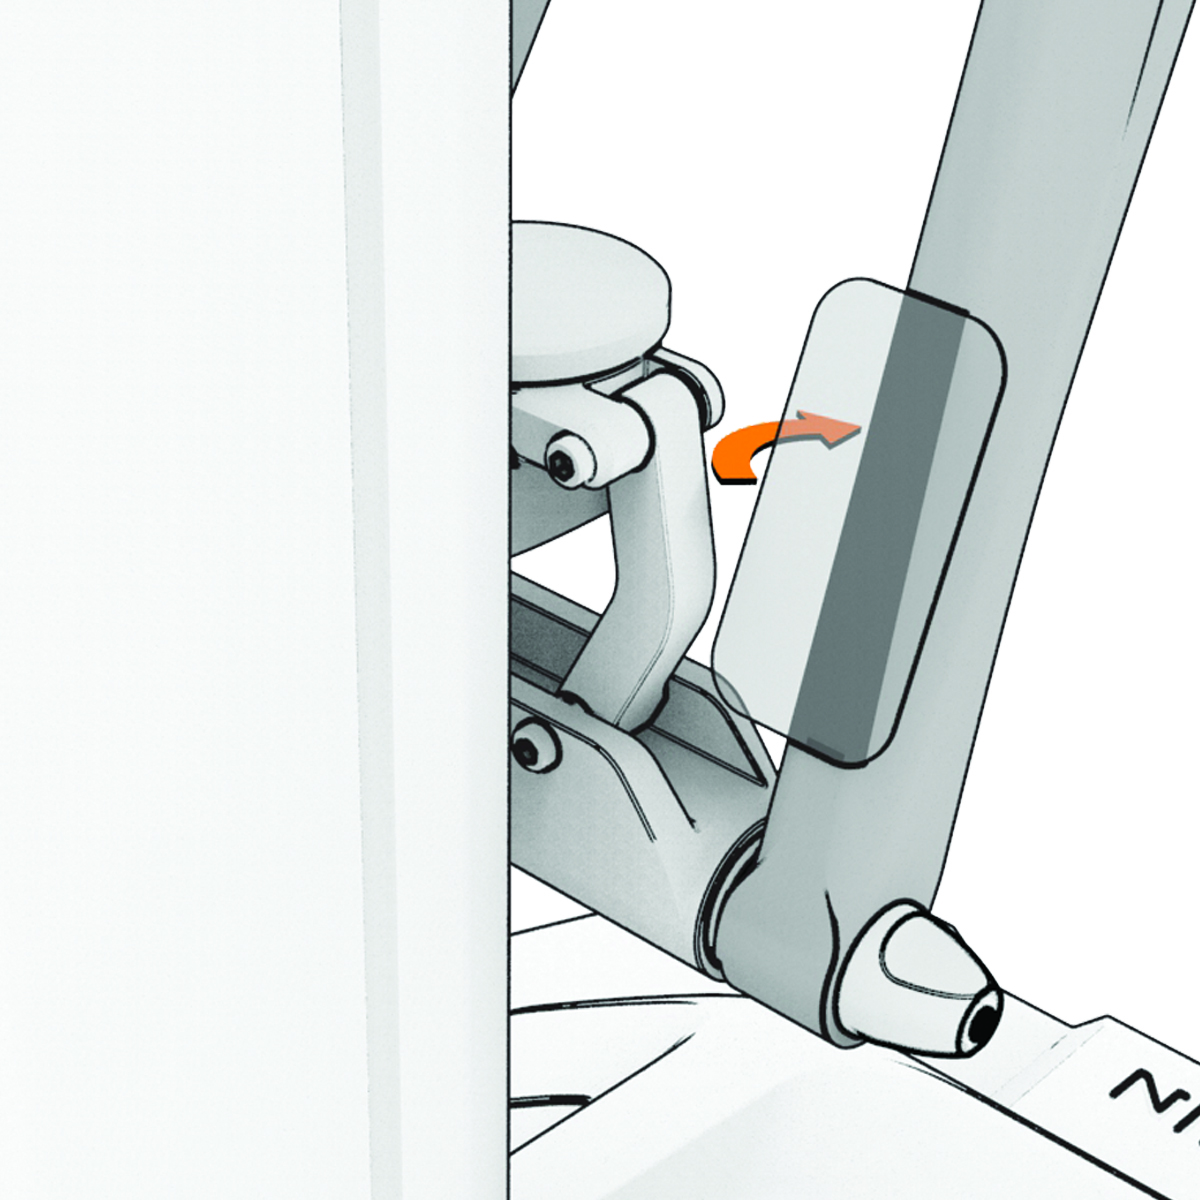
Checking the Bike Fork Clearance
You will need the compatibility gauge from installation kit .
-
Press until the
Tacx Alpine is in the lowest position.
NOTE: The minimum grade is either -10% or a custom value (Checking the Chain Stay Clearance).
-
Rotate the handlebar as far as possible (in both directions and on both sides), and insert the gauge between the fork and the
Tacx Alpine.
If the gauge fits between the two parts, in both directions, no further action is required. If the clearance check fails, continue to step 3.
-
Open installation kit , and select the protective strips.
TIP: Garmin® recommends cleaning your bike fork before placing the protective strips.
-
Place the protective strips on your bike fork where the bike fork is closest to the
Tacx Alpine.