Mounting the Indicators with Adhesive
The adhesive mount is intended for a long-term installation and can be difficult to remove. You should carefully consider the mounting location before you install the mount.
You should allow the mount to remain in place at room temperature for 24 hours before completing installation and using the device.
For the best results, the ambient temperature should be from 21° to 38°C (from 70° to 100°F) while installing with adhesive. The adhesive may not bond correctly if the temperature is outside this range.
Before you mount the indicators, determine whether the indicator should be placed vertically or horizontally on your vehicle and which side each indicator should be placed on. Each indicator is marked with L or R to align with the left or right side from the driver's position.
Before you mount the indicators with adhesive, ensure the surface areas are completely flat.
-
Apply the adhesive to the back of the indicator.
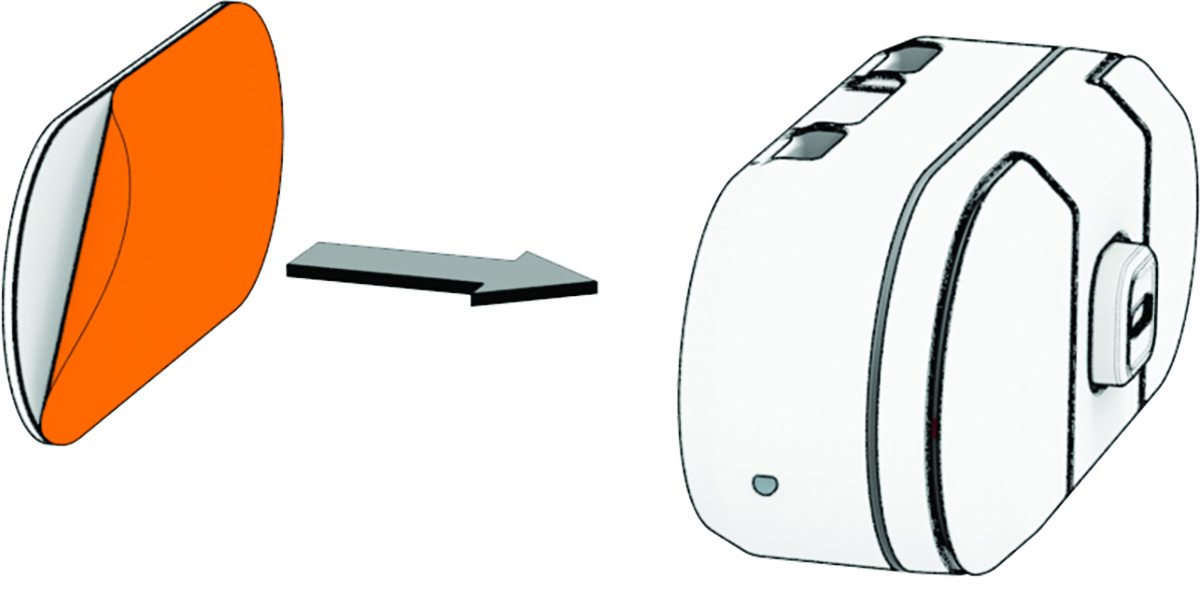
TIP: The adhesive is extremely sticky. Do not touch the adhesive to the surface until the indicator is properly positioned and aligned. -
Remove the protective film from the other side of the adhesive, and position the indicator over the mounting location.
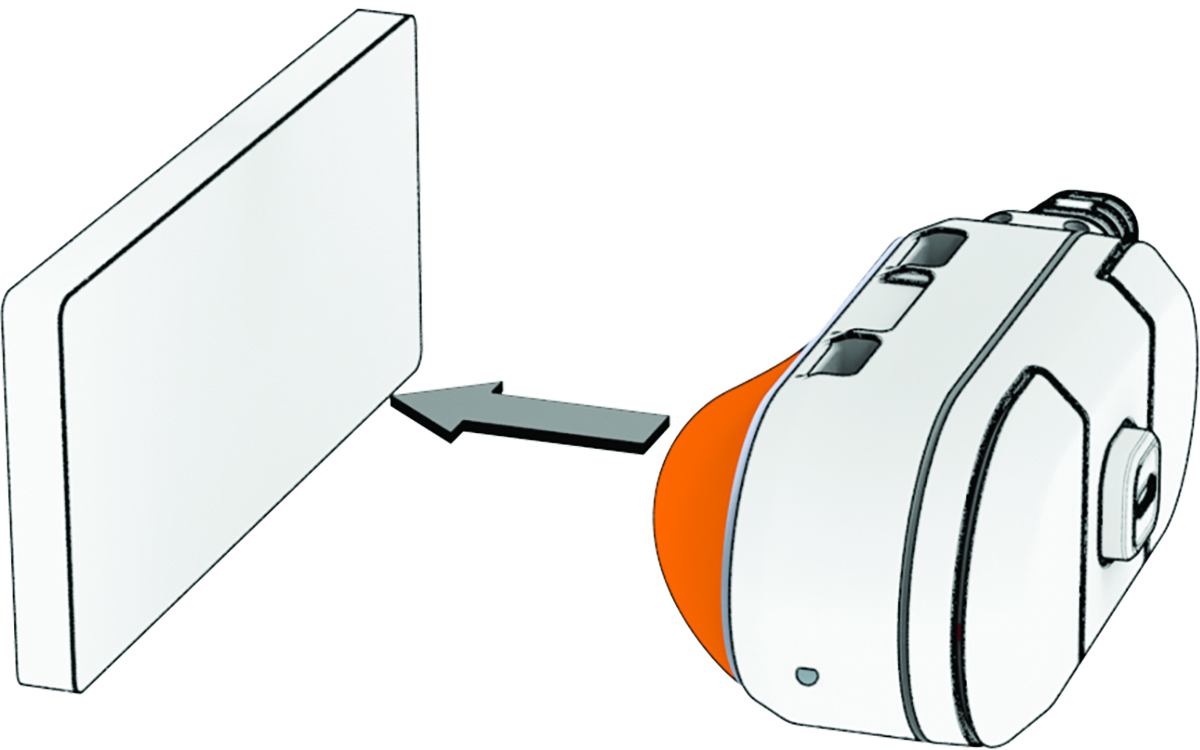
TIP: The adhesive is extremely sticky. Do not touch the adhesive to the surface until the indicator is properly positioned and aligned.