Flush Mounting the Device
Be careful when cutting the hole to flush mount the device. There is only a small amount of clearance between the case and the mounting holes, and cutting the hole too large could compromise the stability of the device after it is mounted.
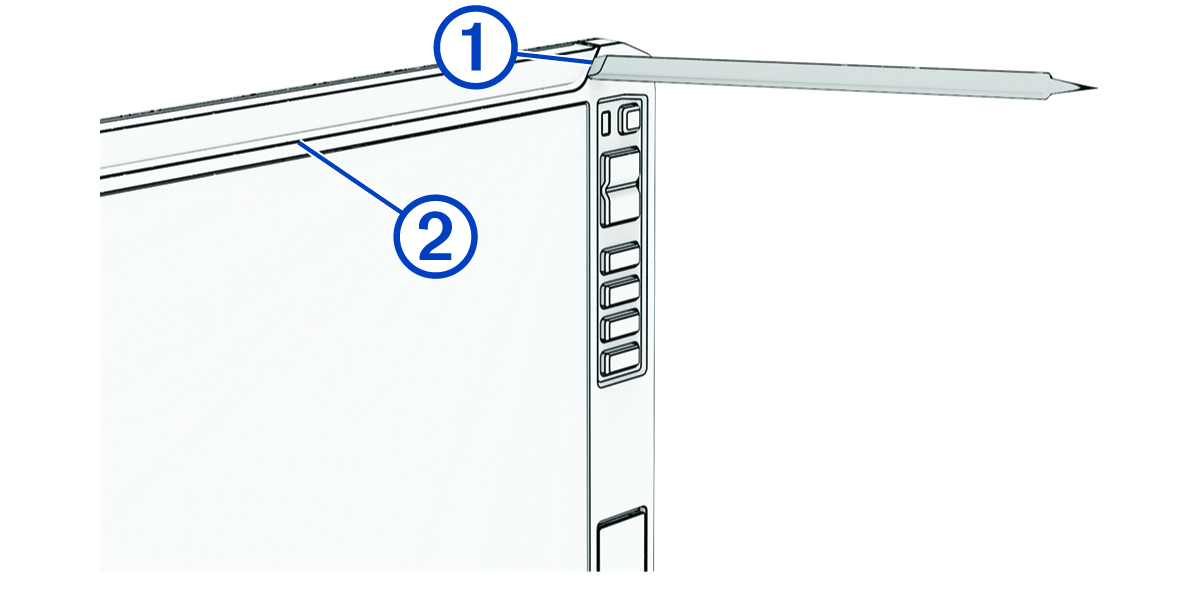
Using a metal pry tool such as a screwdriver can damage the trim caps and the device. Use a plastic pry tool when possible.
You can mount the device in your dashboard using the provided flush-mount template and hardware.
-
Use a plastic pry tool or a flat piece of plastic to carefully pry up the corners of the trim caps
 , slide the pry tool to the center
  , and remove the trim caps.
-
If you will not have access to the back of the device after you mount it, route the necessary cables through the hole and connect them to the cradle.
You can press
 to power the device on and off to test the connections.
-
Install the rubber gasket pieces
 on the back of the device.
The pieces of the rubber gasket have adhesive on the back. Make sure you remove the protective liner before installing them on the device.

On ECHOMAP™ UHD2 9 sv models, the top and bottom gasket pieces are not interchangeable and are labeled to help install correctly. Be sure to use the appropriate gasket pieces on the top and bottom to avoid water ingress behind the mounting surface.
-
Secure the device to the mounting surface using the included screws
 .
.