Installing the Legs on the Trainer

You must have the assembly kit  for this task. You must have at least two people to assemble the
Tacx® NEO Bike Plus trainer. Use care when lifting the trainer.
for this task. You must have at least two people to assemble the
Tacx® NEO Bike Plus trainer. Use care when lifting the trainer.
-
Place the trainer on the floor, and tilt it back to install the front legs .

-
Open the assembly kit .
-
Tilt the trainer forward to install the back legs .

-
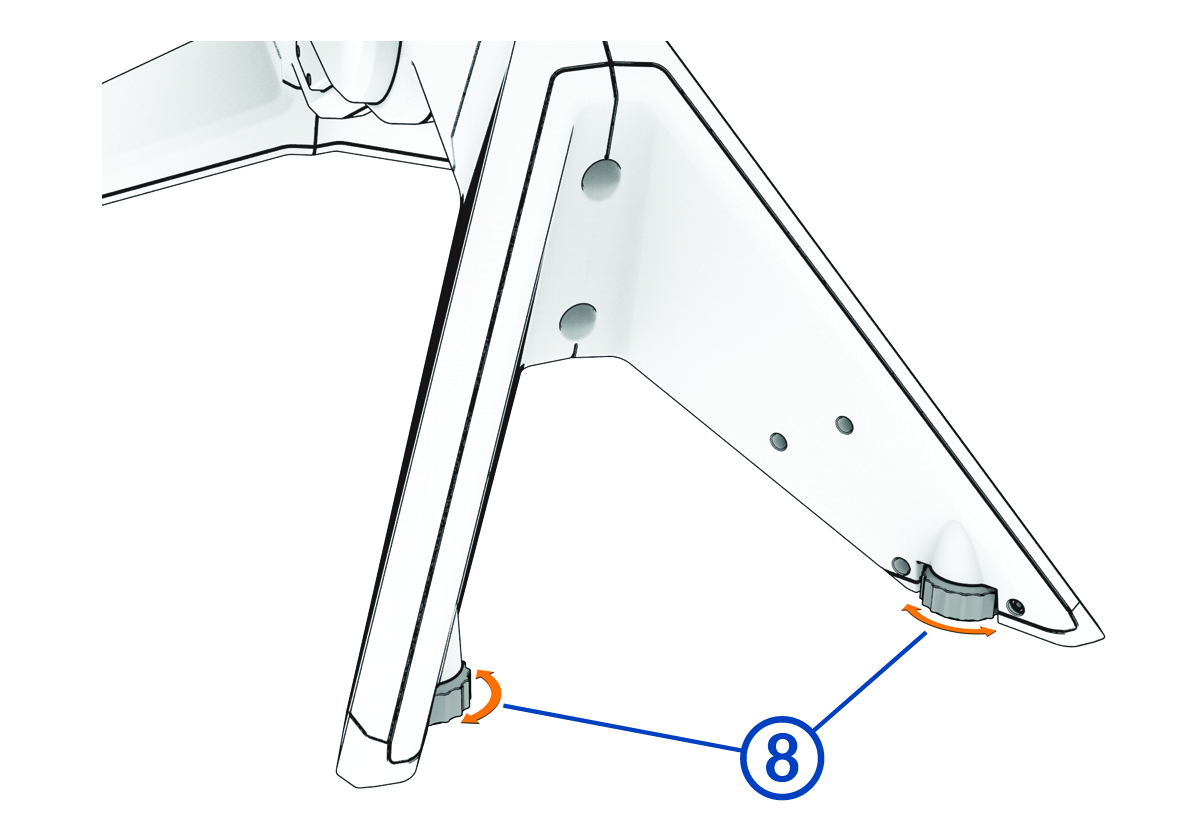
Turn the knobs on the front legs to stabilize and level the trainer (optional).