Installing the Mount on a Kayak Without a Compatible Mounting Pattern
You must have access to the space under the mounting surface in order to install the mount using the included nuts and bolts.
-
Retrieve the bolts, nuts and fender washers from bag
 and four plain washers from bag
  .
.
-
Secure the mount to the kayak using the bolts and plain washers on top of the mount, and the four fender washers and nuts on the underside of the mounting surface.
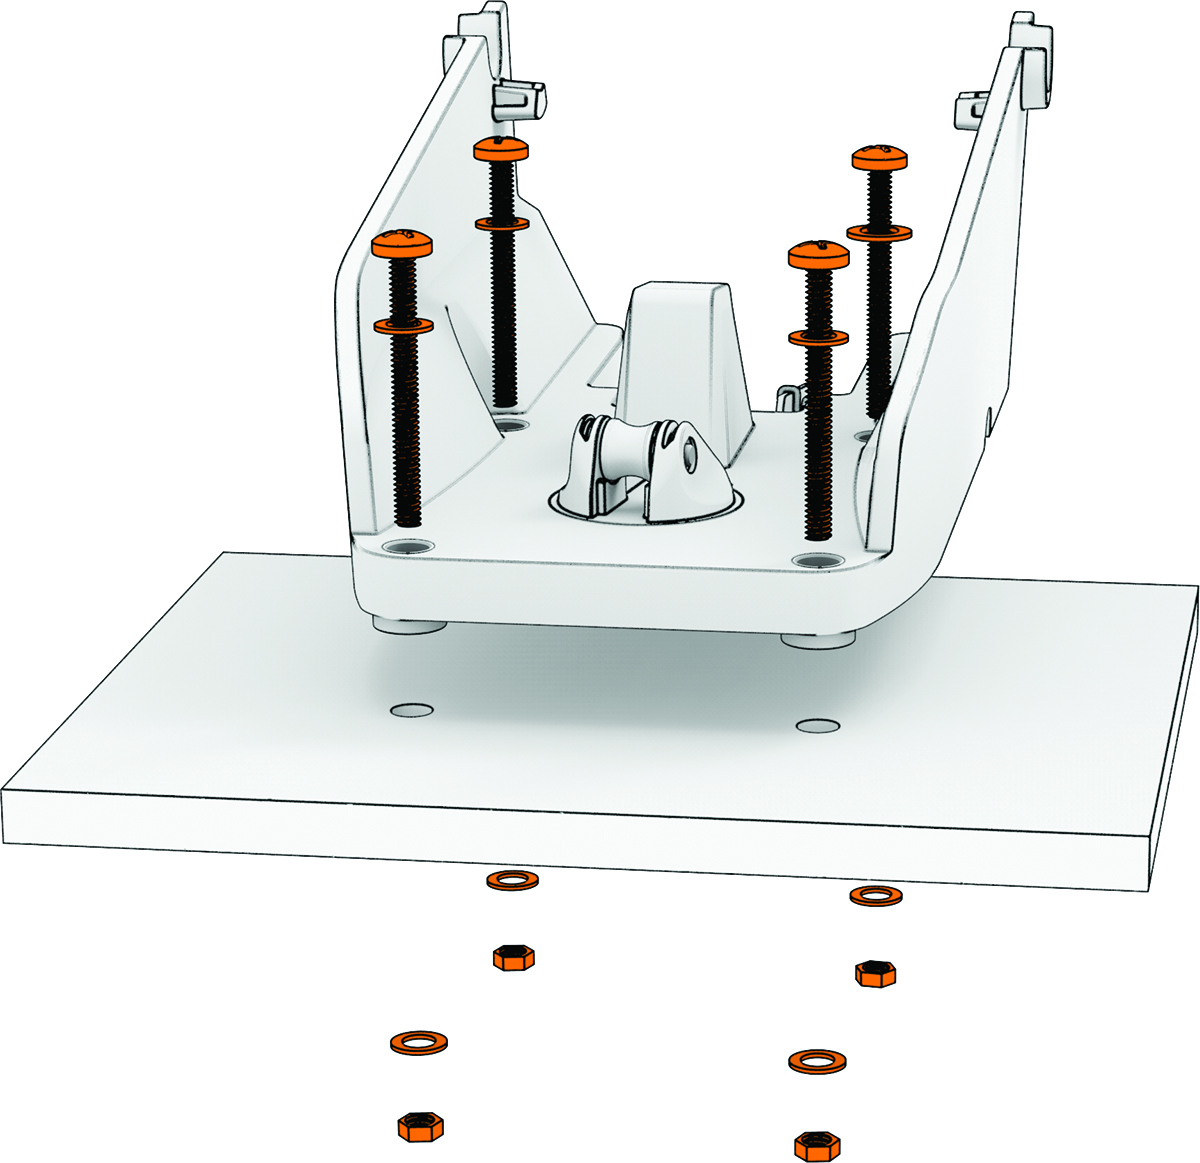
You must use washers on both sides of the mounting surface to reduce strain on the mounting surface material and ensure a secure installation. Installing the mount without using all washers may lead to damage to the motor and the kayak.
With some kayaks, it may be necessary to install a backing plate on one or both sides of the mounting surface to reinforce it, before installing the mount. If in doubt, contact the kayak manufacturer for specific guidance for your kayak model.