Installation
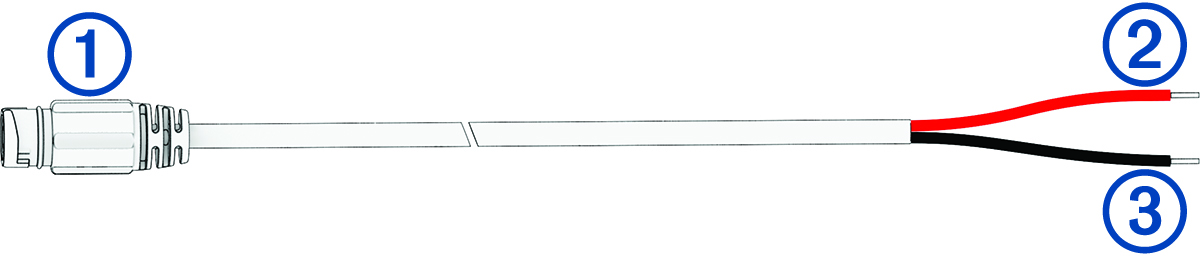
Power Cable Overview
See the Important Safety and Product Information guide in the product box for product warnings and other important information.
Garmin® strongly recommends having an experienced installer with the proper knowledge of electrical systems install the device. Incorrectly wiring the power cable can result in damage to the vehicle or the battery and can cause bodily injury.
|
|
Mount connector |
|---|---|
|
|
12 to 24 Vdc system power (red) |
|
|
System ground (black) |
In-line Fuse Cable
Garmin strongly recommends having an experienced installer with the proper knowledge of electrical systems install the in-line fuse cable. Incorrectly wiring the power cable or the in-line fuse cable can result in damage to the vehicle or the battery and can cause bodily injury.
In many cases, you must install the included in-line fuse cable on the device power cable to protect the device from excessive electrical current.

-
You must install the included in-line fuse cable if you are connecting the power cable directly to the vehicle battery.
-
If you are connecting the power cable to an accessory power source or bus bar that already has a suitable fuse or a protective circuit, installing the included in-line fuse is not necessary.
-
When installing the fuse cable, you should connect it to the red system power wire using the included splice connector.
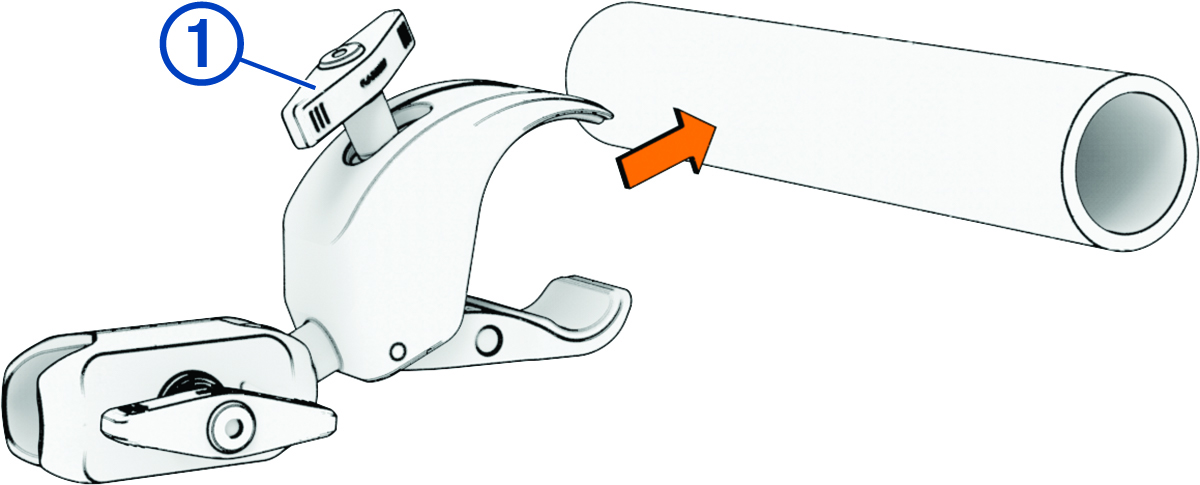
Mounting the Device on a Roll Bar
The product contains magnets that may interfere with medical devices. Consult your physician and medical device manufacturer with questions.
-
Loosen the knob on the top of the roll bar mount.
-
Remove the mount cover from the magnetic mount.
-
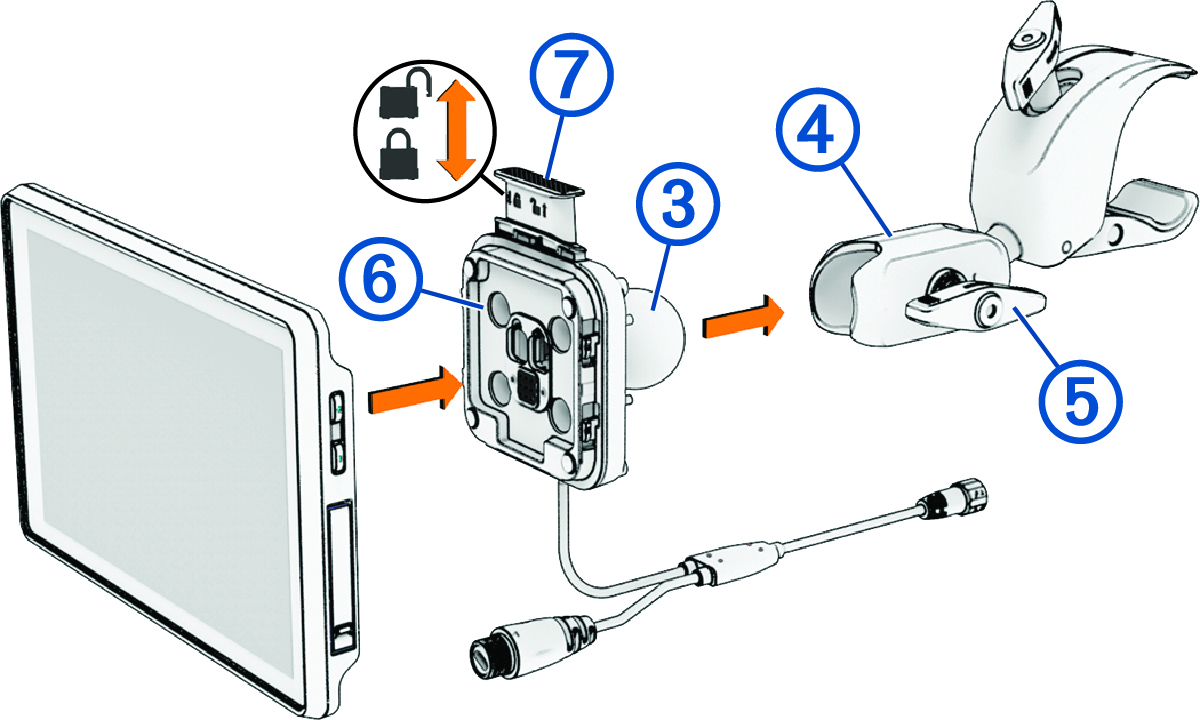
Insert the ball on the magnetic mount into the double-socket arm .
-
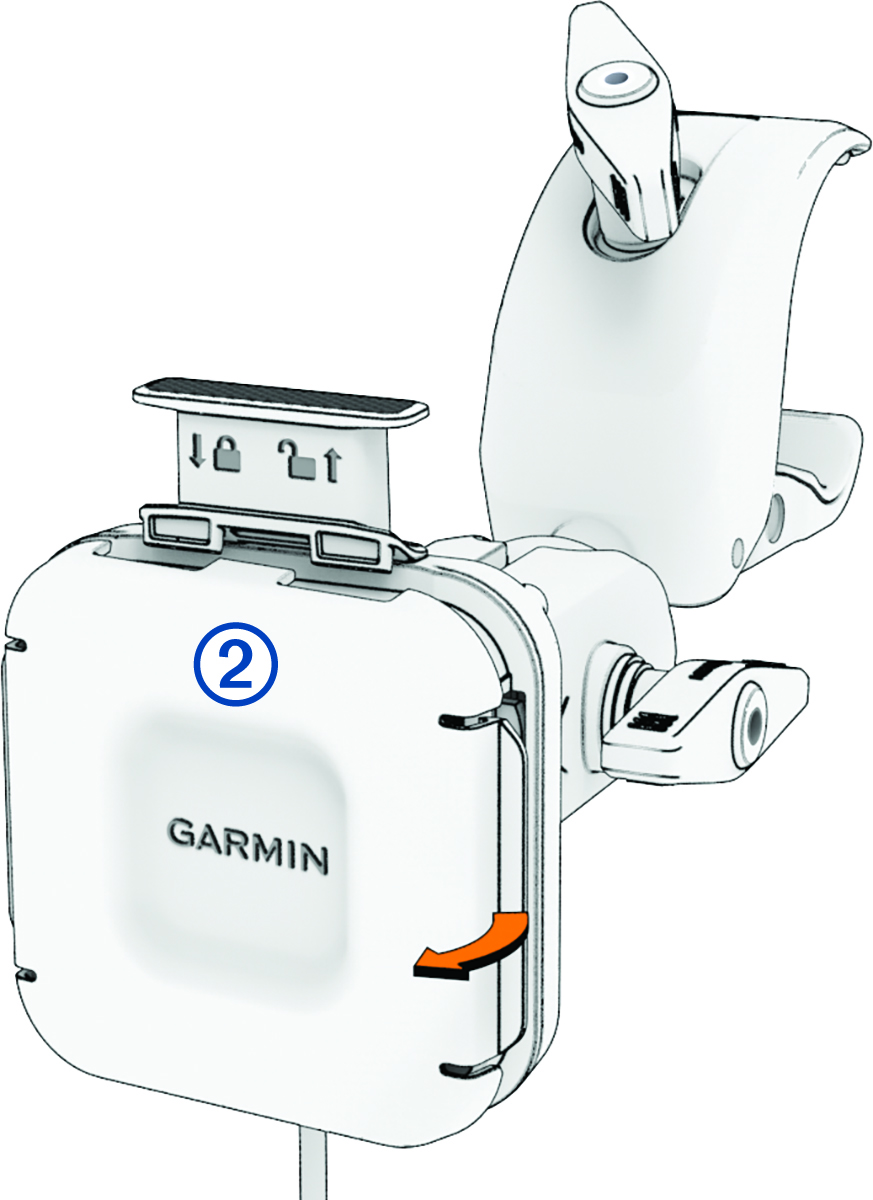
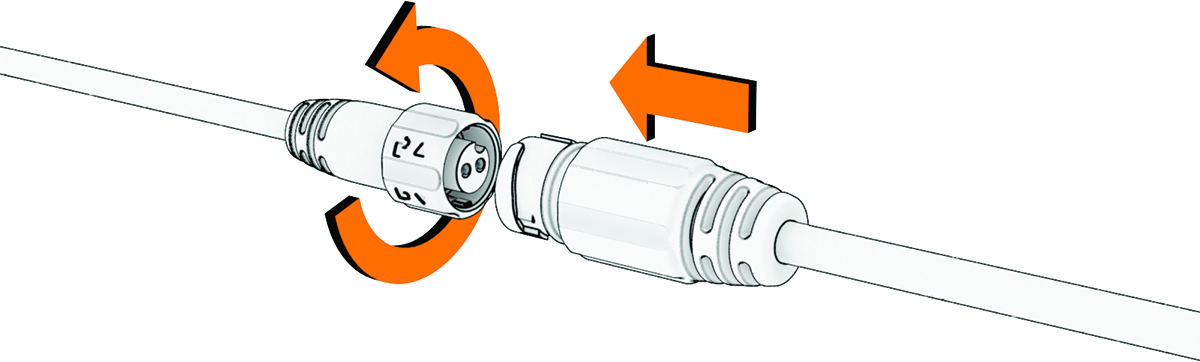
Connect the power cable to the connector on the vehicle wiring harness.
Accessory Connector
The navigator's power cable includes an accessory connector for use with optional accessories (not included). Optional accessories are available at garmin.com or from your Garmin dealer.