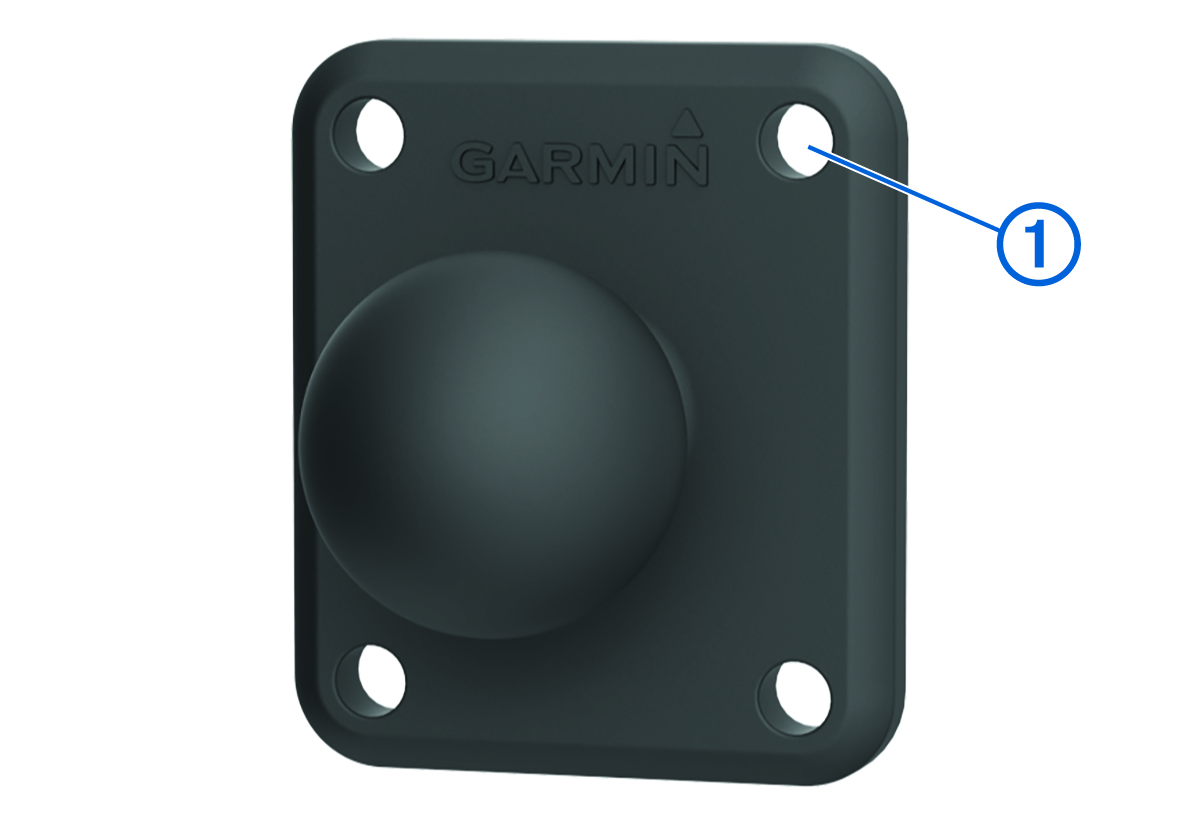
Installing the Screw-Down Ball Mount on the Dashboard
Before you can attach the screw-down ball mount to your dashboard, you must select a suitable location on the dashboard and purchase the appropriate hardware for your mounting surface.
It is your responsibility to ensure the mounting location complies with all applicable laws and ordinances, and does not block your view of the road during the safe operation of your vehicle.
Avoid wires, gauges, air bags, air bag covers, HVAC, and other items when drilling pilot holes and attaching the mount to the vehicle. Garmin® is not responsible for any damages or consequences arising from the installation.
Garmin recommends professional installation of the screw-down ball mount.
The device includes an optional 4-hole AMPS pattern mount that you can secure to the dash board in place of the suction cup. This can be useful if you are unable to mount the device to a windshield.
