Mounting the Speakers and Brackets
You can mount the Tread™ 6.5" XS-LED Tower Speakers to a roll bar using the included brackets.
When installing the speaker and bracket, you can route the speaker and LED cable along the roll bar.
-
Feed the cable
 from the speaker through the base of the bracket
  .
.
-
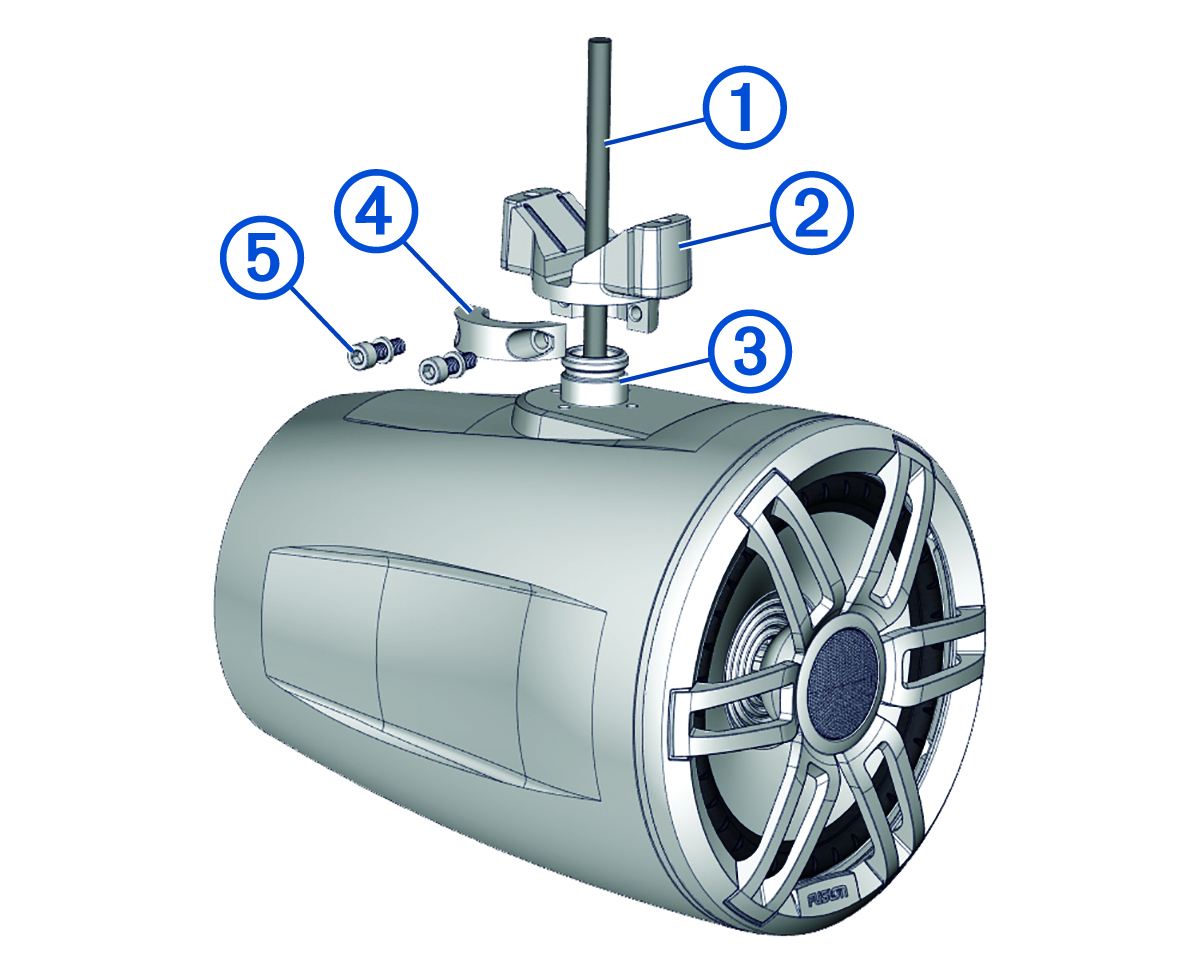
Place the base of the bracket over the mounting knob on the speaker
 .
.
-
Using a 4 mm hex driver or hex key, attach the collar
 to the base of the bracket using the two shorter screws and washers
  , but do not fully tighten them.
-
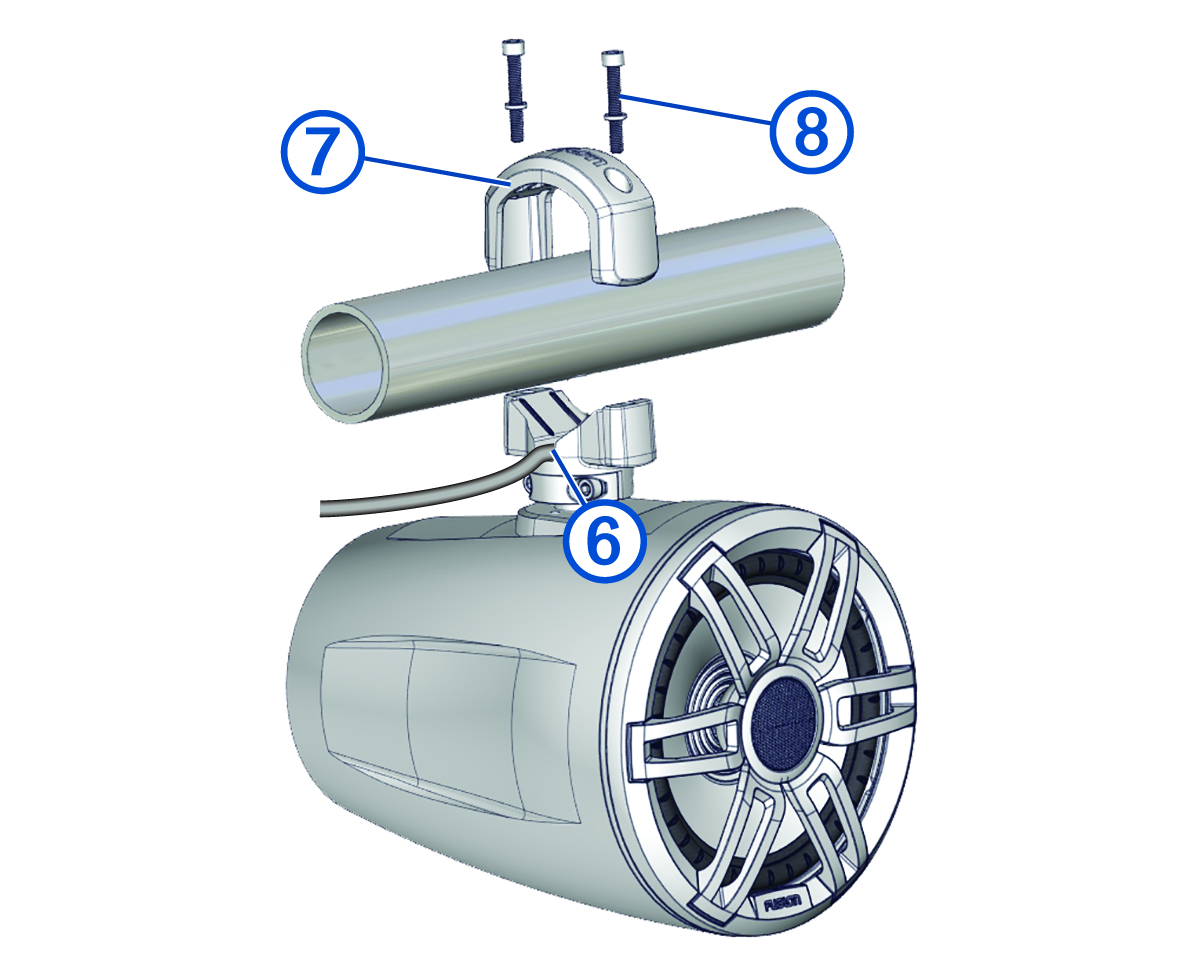
Place the connected wires in the channel on the base of the bracket
 , and route the wires along the roll bar.
-
Place the top of the bracket
 over the roll bar, and hold it against the base of the bracket.
-
Using a 5 mm hex driver or hex key, attach the top of the bracket to the base of the bracket using the two longer screws and washers
 , but do not fully tighten them.
-
Adjust the angle of the speakers, and tighten all of the screws to secure the speaker to the roll bar, observing these maximum torque measurements:
-
For the longer screws that secure the bracket to the roll bar
, do not tighten to more than 4 N-m (2.95 lbf-ft.).
-
For the shorter screws that secure the bracket to the speaker
, do not tighten to more than 2.5 N-m (1.84 lbf-ft.).
Tightening the screws more than the specified maximum torque measurement can damage the bracket.
-