Installing Rally Pedals
 WARMING
To ensure that the spindle stays in place, you must tighten it to the recommended torque specification. Failure to properly tighten the spindle could cause the pedal to fall off during a ride, which could result in property damage or serious bodily injury or death.
This procedure is for any Rally 200 system and uses images of the Rally RS pedals. The installation for any Rally 100 system is the same, but the power sensor components are in the left pedal only. For more information, see About the Rally 100 System.
- Install the right pedal first.
- Apply a thin layer of bike grease to the spindle.
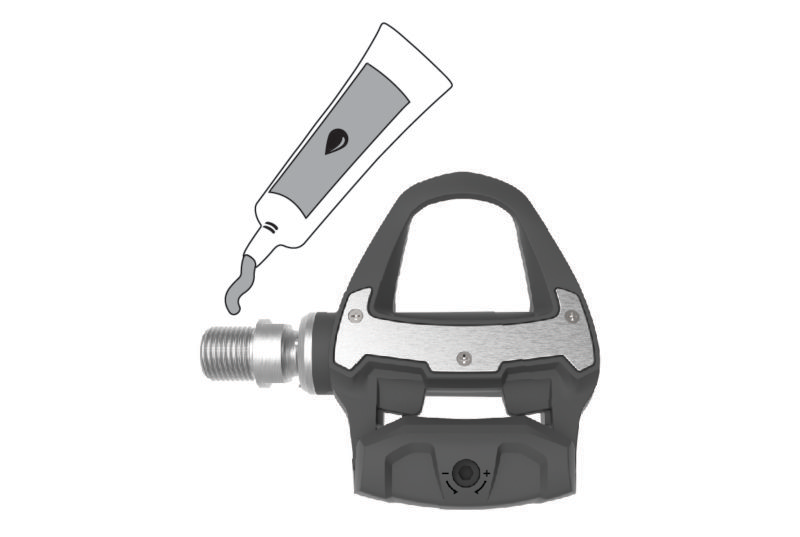
- Insert the spindle to the spindle hole.
- Tighten the spindle with a torque wrench or a pedal wrench.
NOTE: Tighten the spindle to the recommended 25 ft-lb (34 N-m) by using a torque wrench if available, or as tight as possible using a pedal wrench.
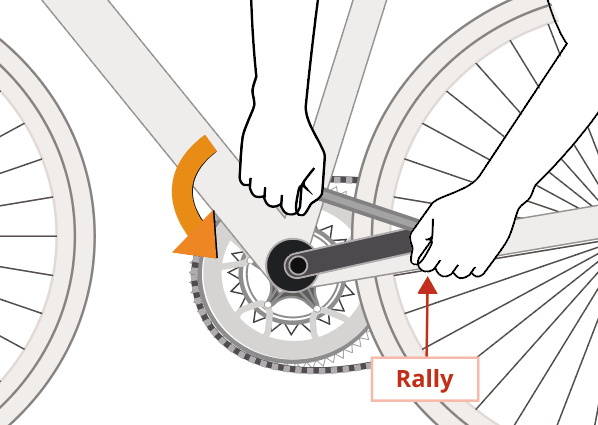
Non-Drive Side
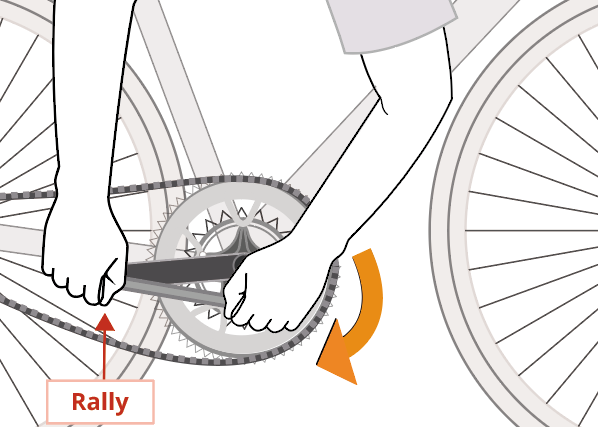
Drive Side
- Rotate the crank arm to check for chain clearance.
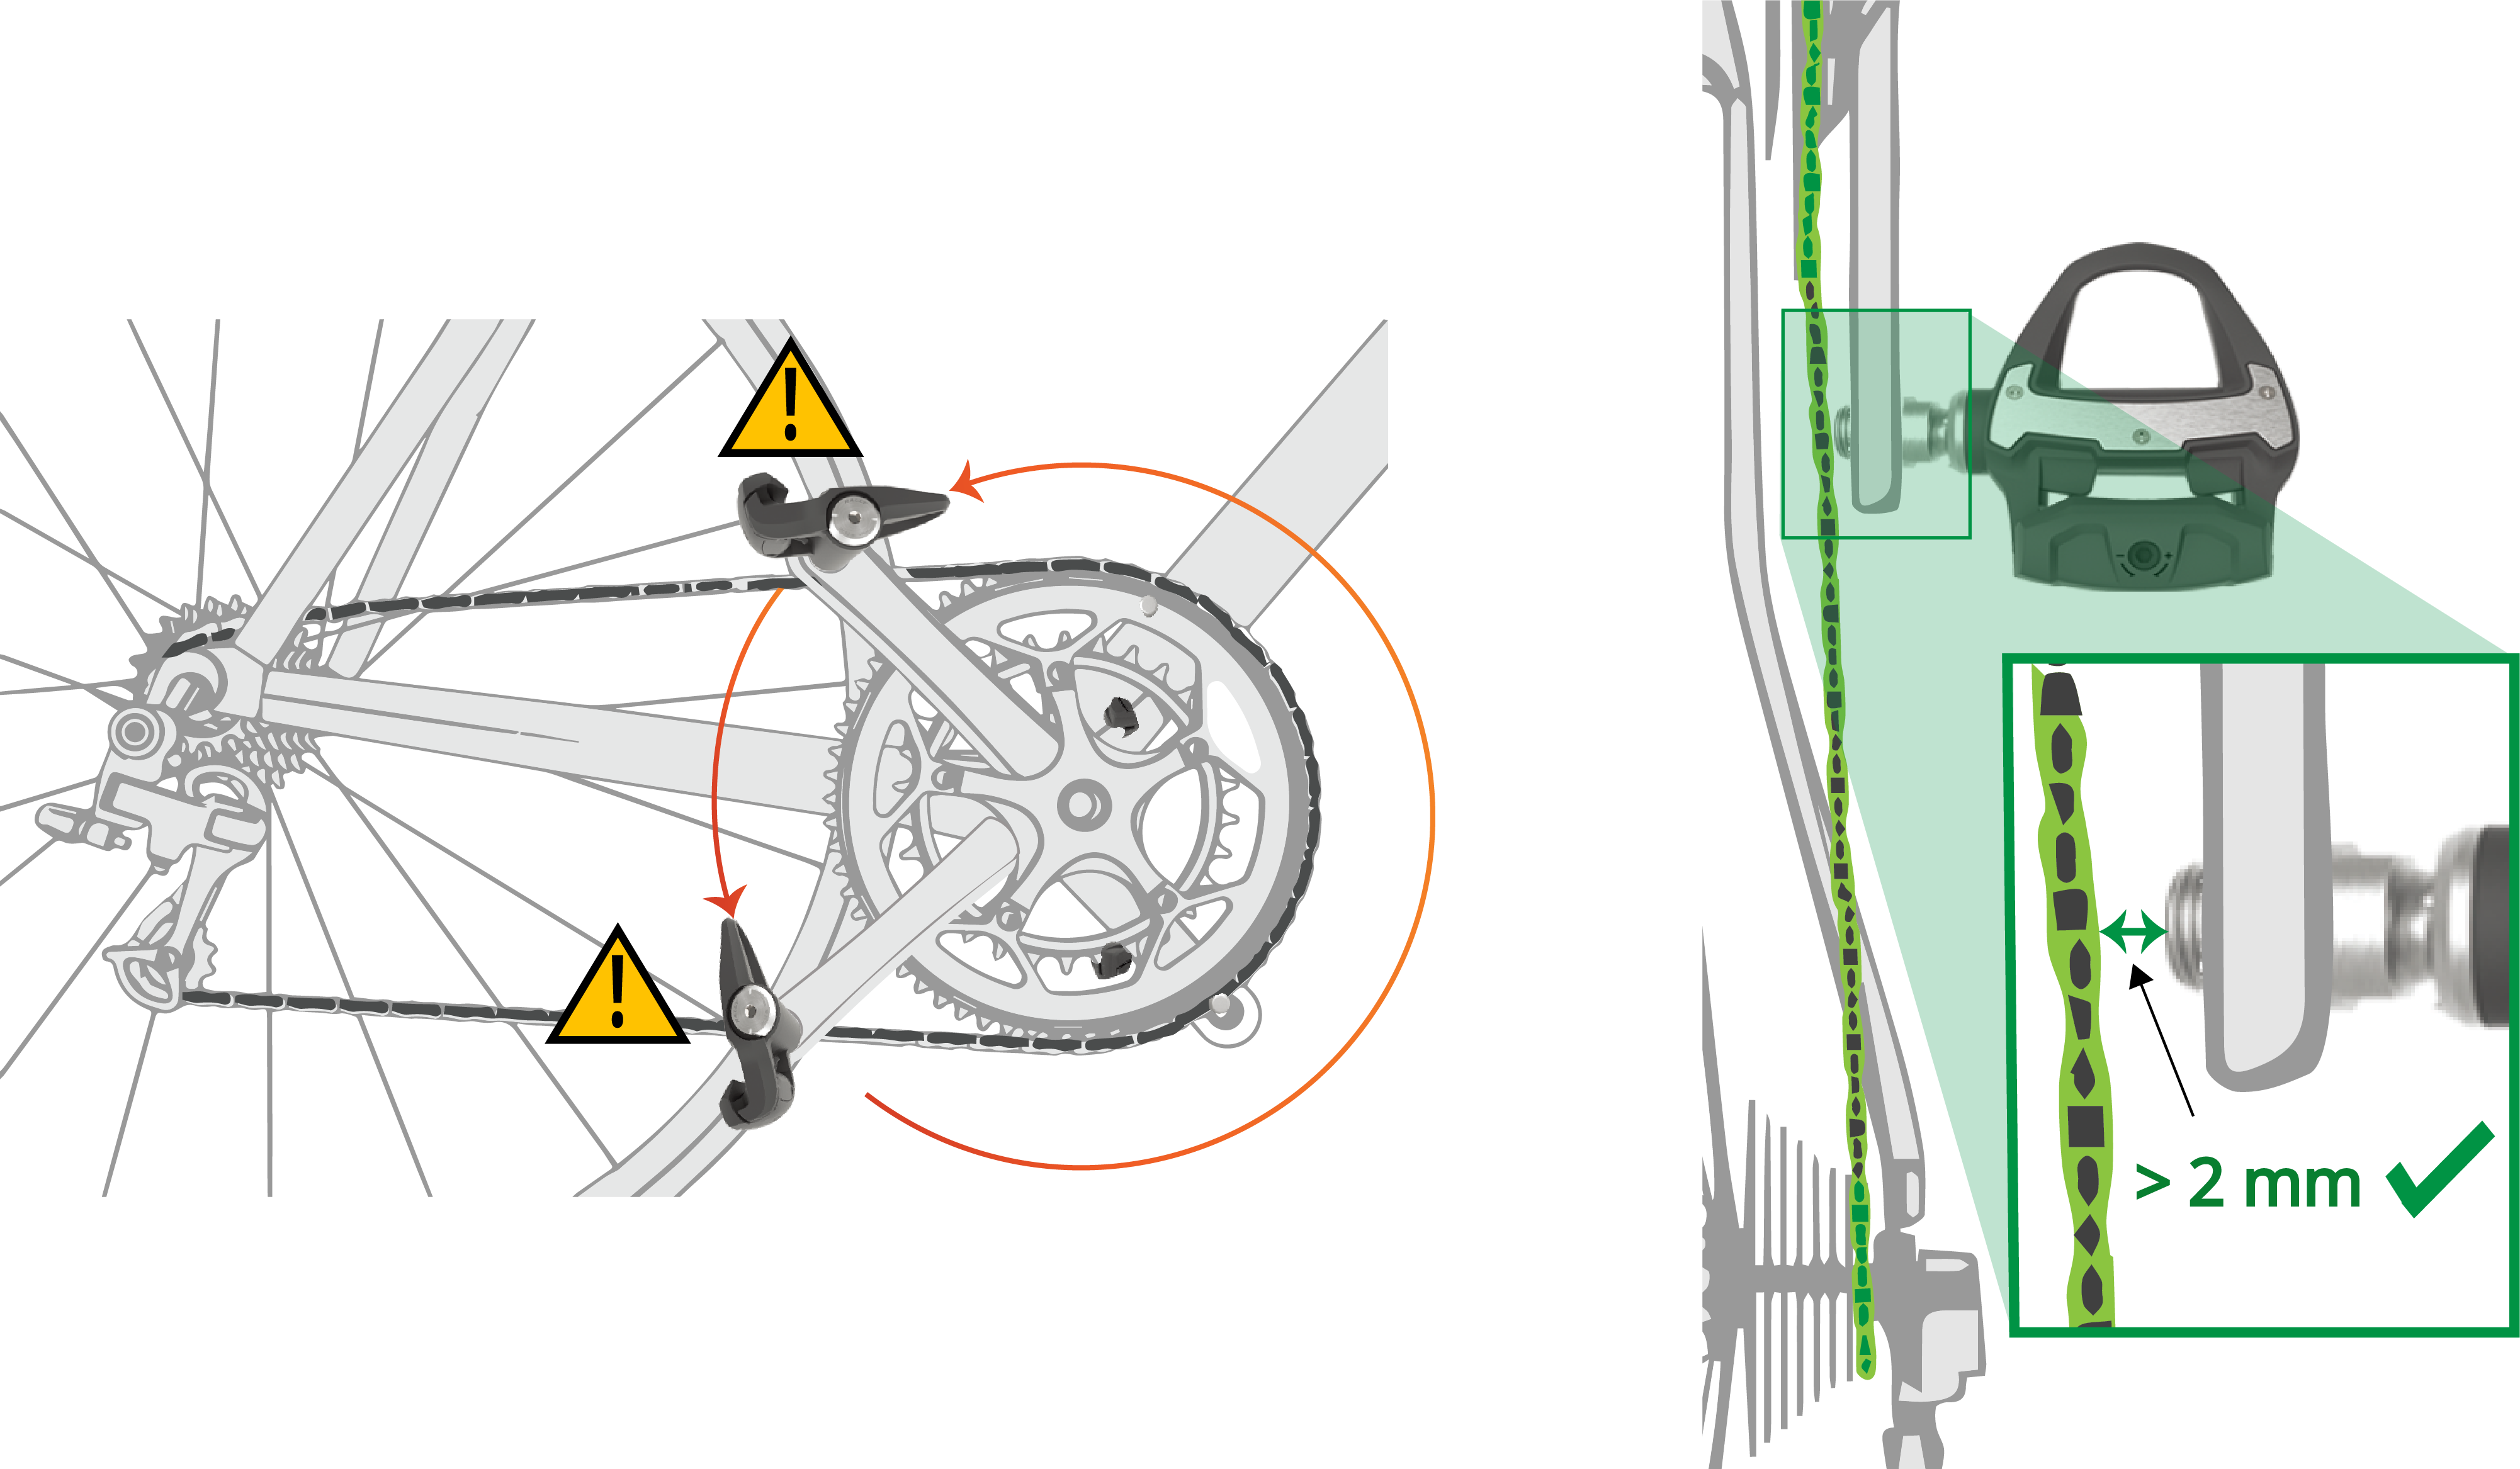
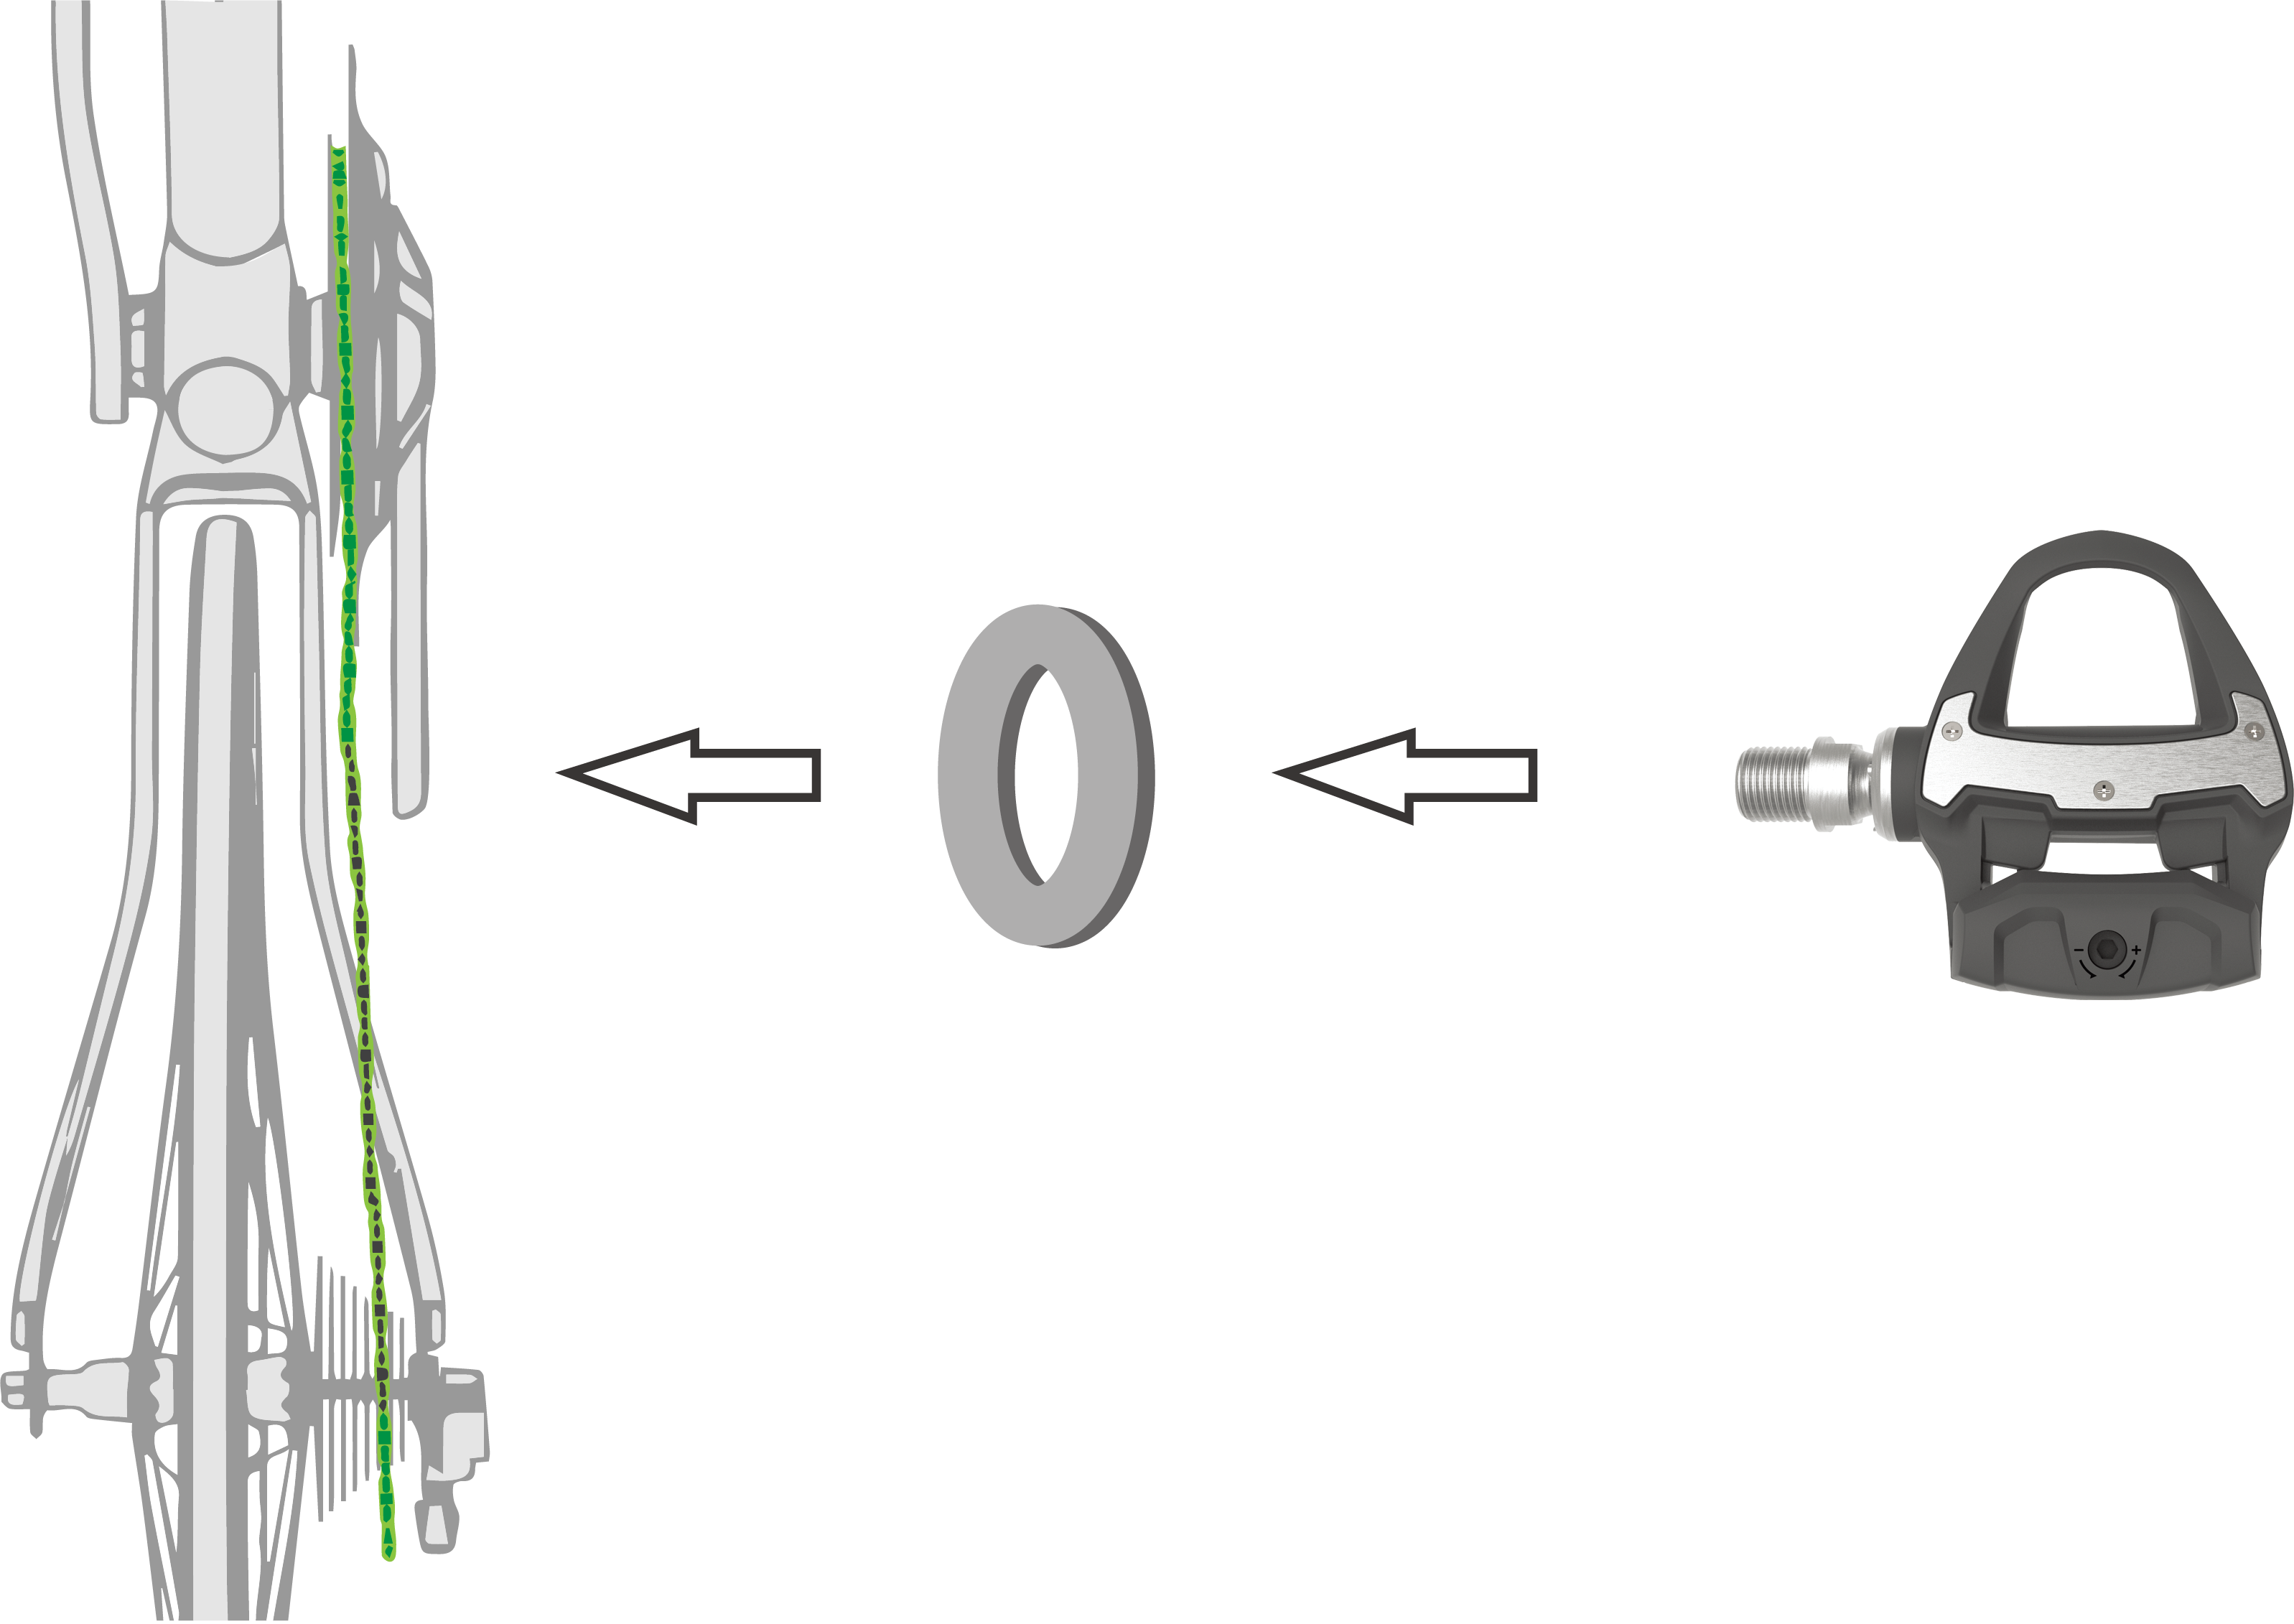
If your pedal rubs the bike chain, you can add one pedal washer between the spindle and the crank arm to increase clearance. To maintain an equal q factor, you can add one washer to the left pedal spindle.
 WARNING
Do not add more than one washer to each pedal. Doing so could increase the stress on the pedal spindle and spindle threads causing possible damage to the pedals or bike or a possible crash leading to property damage or serious personal injury.
 CAUTION
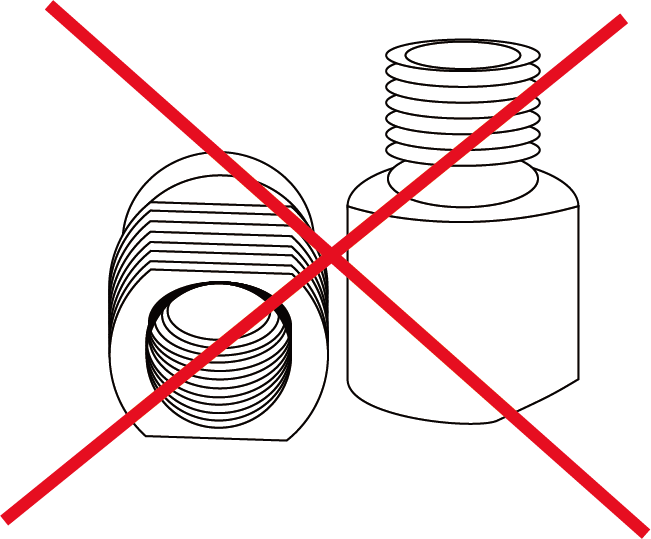
Do not install with bike pedal extenders as doing so may damage the device and will void the warranty.
